Stylish Simple Mehndi Design: Easy Ideas That Look Expensive
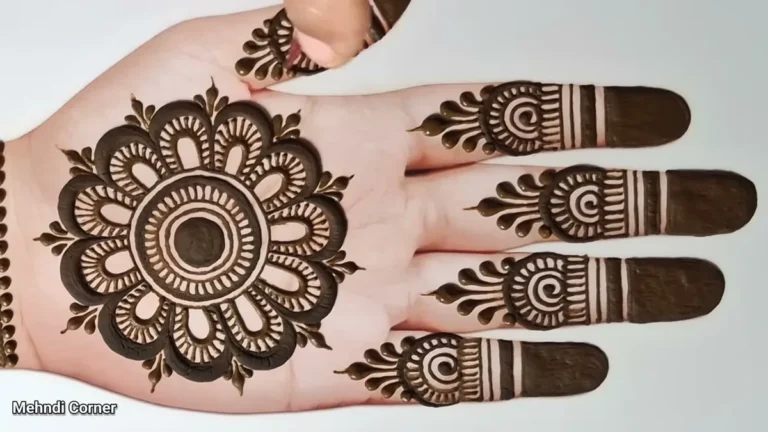
A stylish simple mehndi design gets its finish from clean spacing, a confident outline and one repeated detail. You do not need a fully filled hand. A small flower, a neat cuff and a few well-placed dots can look more deliberate than several unrelated motifs squeezed together.
Here, “expensive” describes a polished appearance, not the price of an artist’s work. The aim is a design you can choose or practise without turning it into a dense bridal project.

What makes simple mehndi look polished
Choose one main motif, one direction and one border style. For example, a rose can sit on a diagonal trail, with a scalloped edge repeated on one finger. If you add a lotus, a mandala, a net and a cuff at the same size, the eye has nowhere to settle.
Keep blank areas intentional. A narrow clear border around a flower helps separate it from nearby lines. Empty skin is part of the composition.
Twelve stylish simple mehndi ideas
1 One rose and an open vine

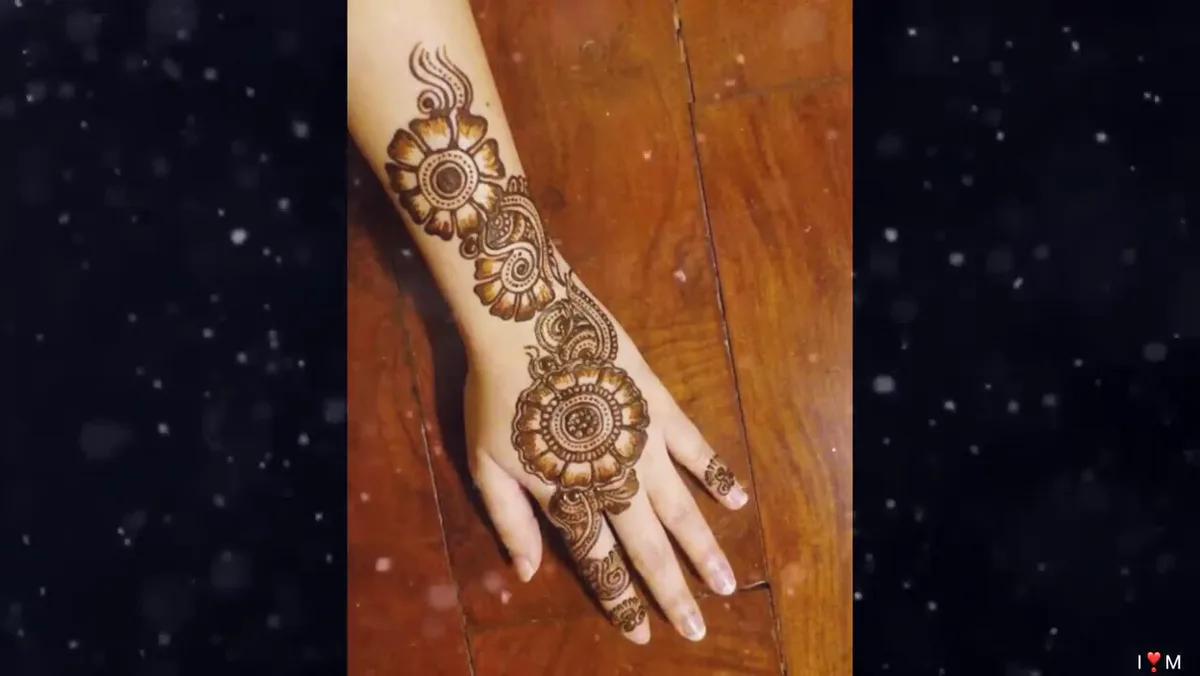
Place a small rose above the wrist and lead a vine toward the index finger. Keep leaves on alternating sides and leave the rest of the hand open.
2 Fine bracelet and ring connection
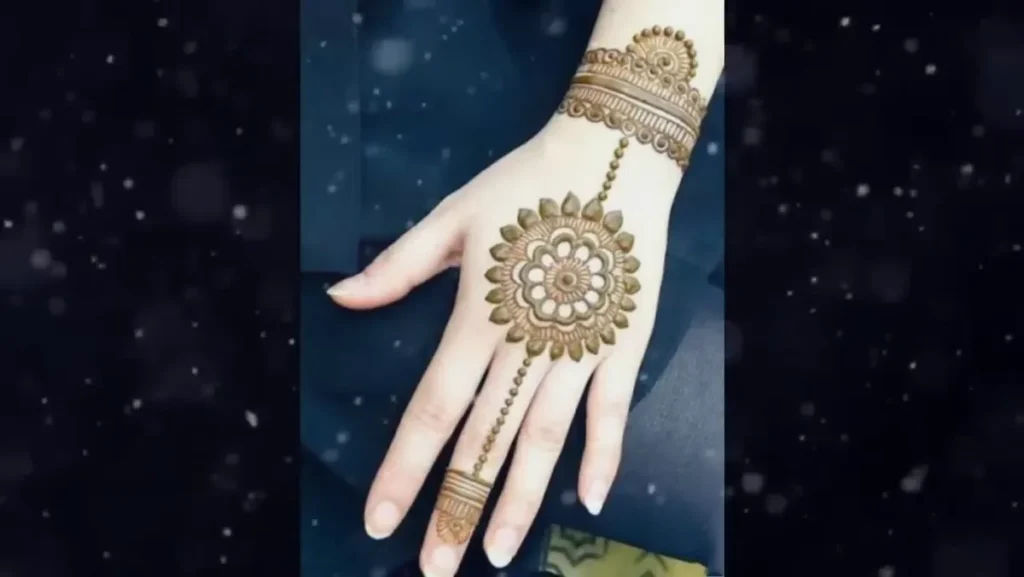
Draw a wrist band, a tiny central ornament and one dotted connection to a finger band. Use fewer chains than a heavy jewellery-style design.
3 Bold flower with bare petals

Give one flower a clear outer edge and keep the petals open. Add a short row of dots beside it. The outer silhouette provides the emphasis.
4 Geometric cuff

Use parallel borders around a wrist panel with a simple zigzag or repeated triangles inside. Keep the pattern consistent rather than mixing many geometric shapes.
5 Half mandala at the wrist
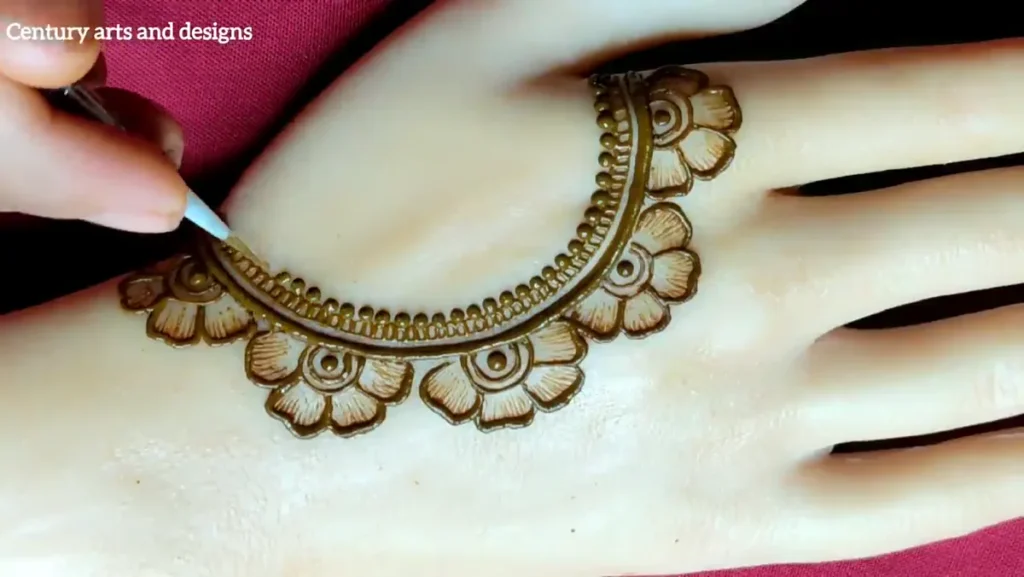
Let a semicircular flower rise from the wrist. Add a light finger band or leave the fingers bare. The design is compact but has a clear base.
6 Side hand leaf trail
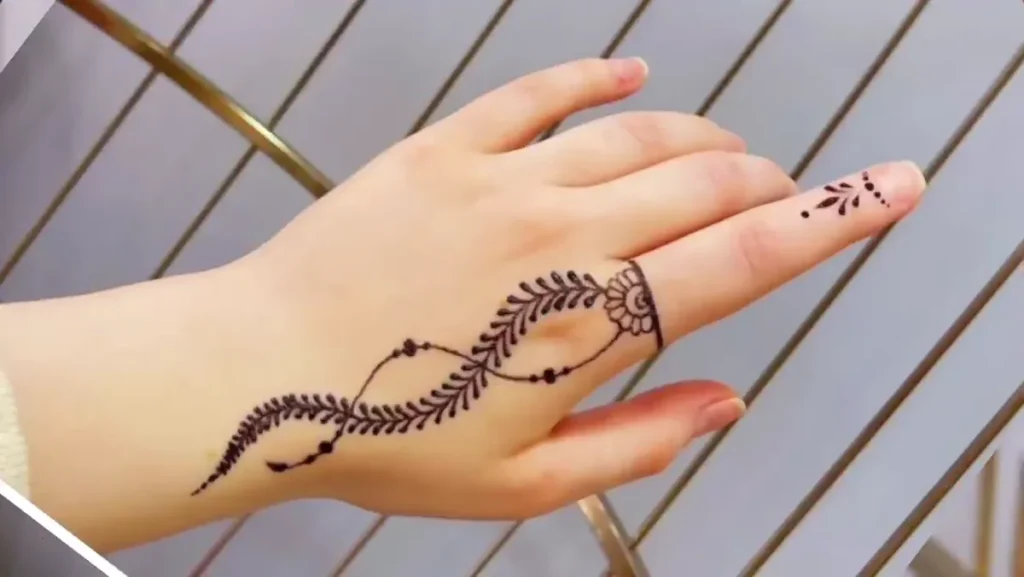
Follow the outer edge of the hand with curved leaves and a small blossom. This leaves the middle open and gives the design a gentle direction.
7 One decorated finger

Use three narrow panels along a single finger and a short dotted trail onto the hand. Repeat one curve in each panel so the sections look related.
8 Minimal paisley

Draw a single paisley near the palm center. Add a small internal leaf and a scalloped outside edge; avoid filling the entire interior with fine lines.
9 Dotted floral cluster

Place three small flowers near one corner of the hand and finish with dots of decreasing size. Keep the flowers different in size so the cluster has a main bloom.
10 Lotus and a short stem
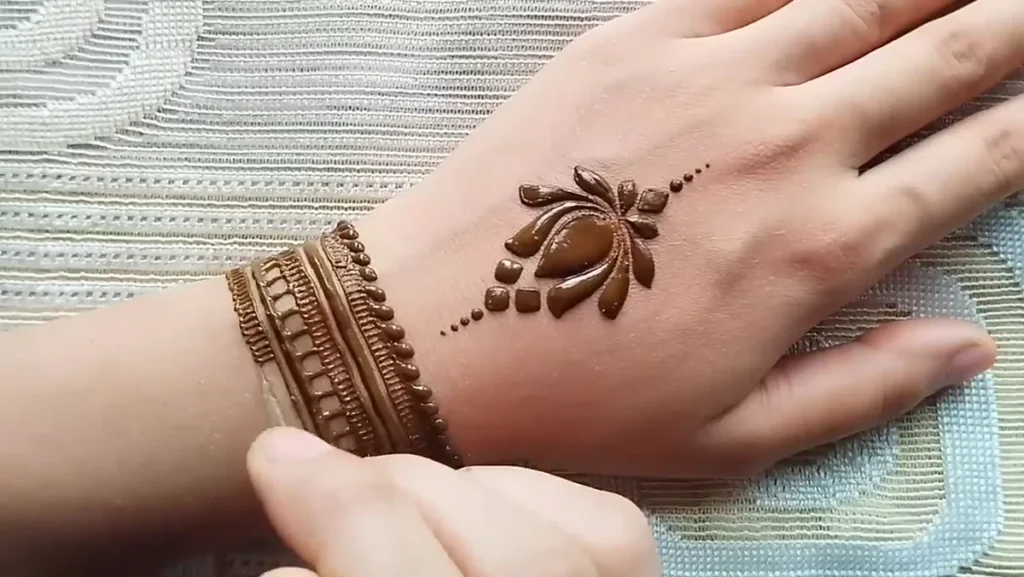
Choose a five-petal lotus with no surrounding lattice. Use one gentle stem curve. This works well when you want a recognizable motif without broad coverage.
11 Two line finger bands
Repeat a narrow band on each finger but vary its position slightly according to the joints. Add only a small palm or back-hand centerpiece.
12 Diagonal scallop border
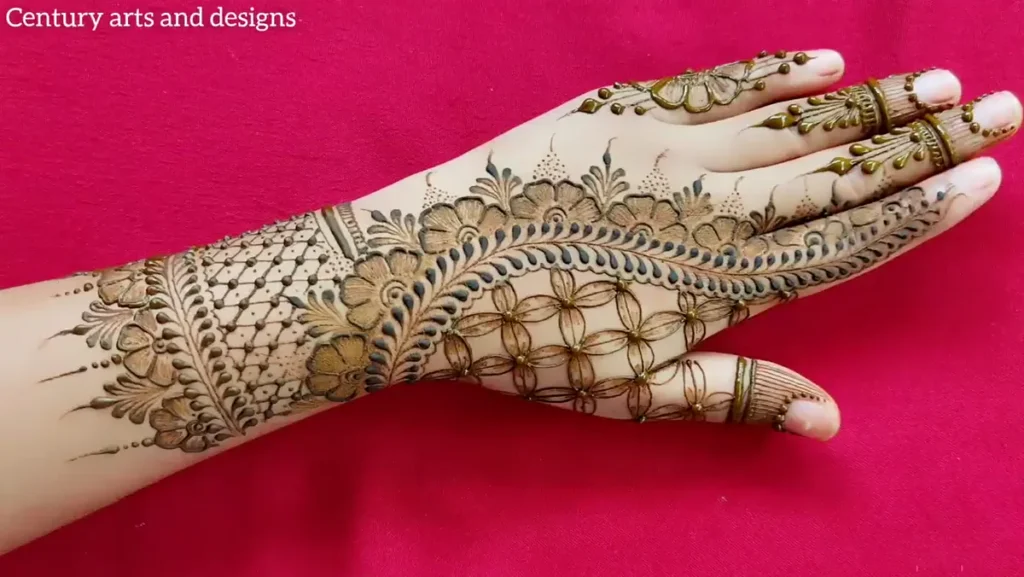
Run a simple scalloped edge across one side of the hand, then decorate only the filled side with leaves. Leave the opposite side bare.
Build a polished rose trail
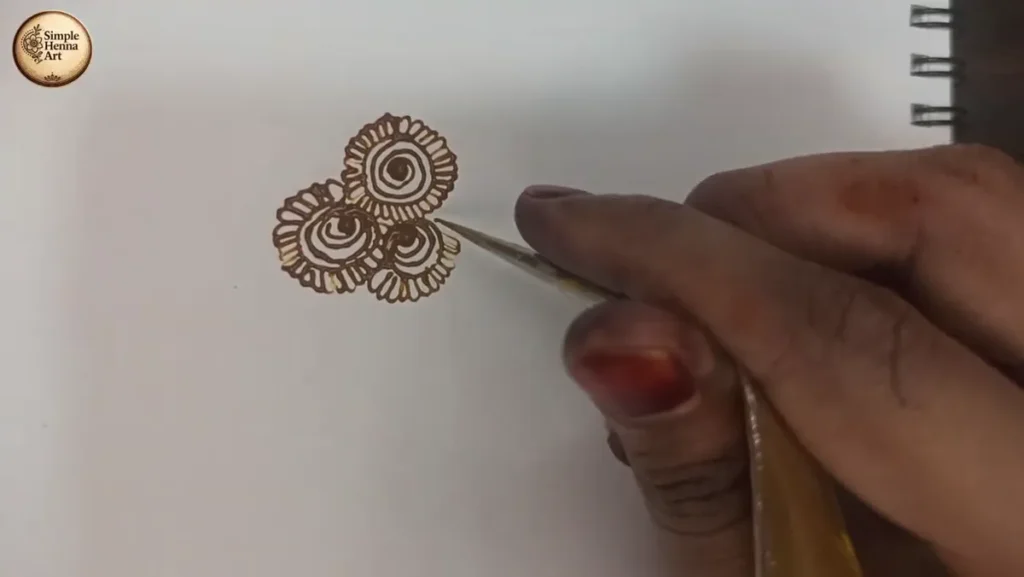
- Practise a small spiral on paper. Add curved outer petals with space between them.
- Place the rose away from a joint so the outline has room.
- Draw one curved stem toward a finger, keeping it clear of the flower’s outer edge.
- Add leaves in pairs or alternating positions. Choose one arrangement and repeat it.
- Finish with a few dots. Check the overall shape before adding anything else.
If the rose is not yet reliable, replace it with a five-petal flower. A simpler flower drawn cleanly is a better starting point than a complicated bloom you cannot repeat.
Why does my simple design look unfinished
Usually the issue is a missing connection or an unclear stopping point. A flower can look isolated if its stem ends abruptly. Add a short finishing leaf, a small band or a tapering dot trail. That is different from filling every blank patch.
Take a photo of the whole hand. If your attention jumps between several similar-sized details, remove one in the next version. If one detail looks too thin beside a heavy border, adjust the line weights on a practice sheet first.
Choose front hand back hand or fingers
Use the palm for a centered mandala or paisley. Use the back hand for a diagonal trail, bracelet connection or flower that you want visible while holding something. Finger designs suit small accents but still need space around joints.
Match the design to your jewellery and sleeves. An ornate ring may pair better with light finger work; a plain wrist can carry a more structured cuff. These are styling choices, not rules about what a particular hand shape can wear.
Keep the finished look honest and comfortable
Choose a labelled body-art product and follow its instructions. Avoid black henna and harsh attempts to force stain color. Do not apply over irritated or broken skin; stop if a product causes burning or a rash.
When comparing inspiration photos, distinguish fresh raised paste from the later stain. A filtered dark photograph is a poor guide to the result you will get. Save a real stain photo if color is important to your choice.
For drawing basics and a larger practice list, use our simple mehndi guide for beginners. Choose the style here, then practise the individual shapes there.
Frequently asked questions
What is the easiest stylish simple mehndi design
A five-petal flower with a short leaf trail is a useful starting point. It combines a recognizable motif with a clear direction.
How do I make simple mehndi look elegant
Use fewer motifs, repeat a small detail and keep the spacing even. Check the whole hand before adding fillers.
Does a polished design need a dark black stain
No. Clean composition does not depend on a black result. Avoid black henna and compare real, unfiltered stain photographs.
Can I combine a cuff and a flower
Yes. Keep one lighter than the other and connect them with a short stem or dotted line if the layout needs it.
Is this the same as beginner mehndi
Some designs overlap, but this guide is about styling and balance. The beginner guide focuses on cone control, basic shapes and practice order.