Lotus Mehndi Design Back Hand: Simple, Bridal & Complete-Hand Ideas
A lotus mehndi design for the back hand looks balanced when the flower sits between the wrist and knuckles, with one clear connection toward a finger or cuff. Keep the petals readable first; add chains, leaves or lattice only after the flower has enough space.
The back of the hand is visible when you hold a bouquet, adjust a dupatta or wear a ring. Choose your lotus placement with those photographs in mind. A large ring and a large flower can work together, but they need separate space.

Pick a lotus back hand design by coverage
- Small and simple: one outlined lotus, a short stem and bare fingers.
- Jewellery style: a lotus linked to one finger with dotted chains.
- Festival coverage: a diagonal lotus trail and two decorated fingers.
- Bridal coverage: a larger lotus, structured cuff and coordinated finger panels.
Use a real back-hand reference. A palm design flipped onto the back hand may place its heaviest details directly over the knuckles.
Ten lotus mehndi design back hand ideas
1 Single lotus near the wrist

Place a small open bloom above the wrist crease. Add a short curved stem pointing toward the forearm. This suits someone who wants the motif visible without covering the center of the hand.
2 Central lotus with one finger chain
Set the flower in the center and connect it to the middle finger with one dotted line. Give that finger a narrow band. Leave the other fingers simple so the chain remains the main connection.
3 Diagonal lotus and leaf trail
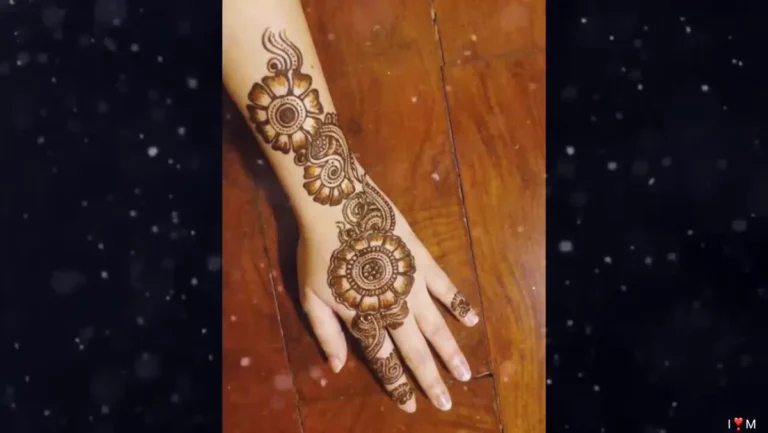
Let two differently sized blooms travel from the wrist toward the index finger. Add leaves along one side of the stem. Avoid placing a flower directly at every joint; let the trail curve through open areas.
4 Bracelet lotus
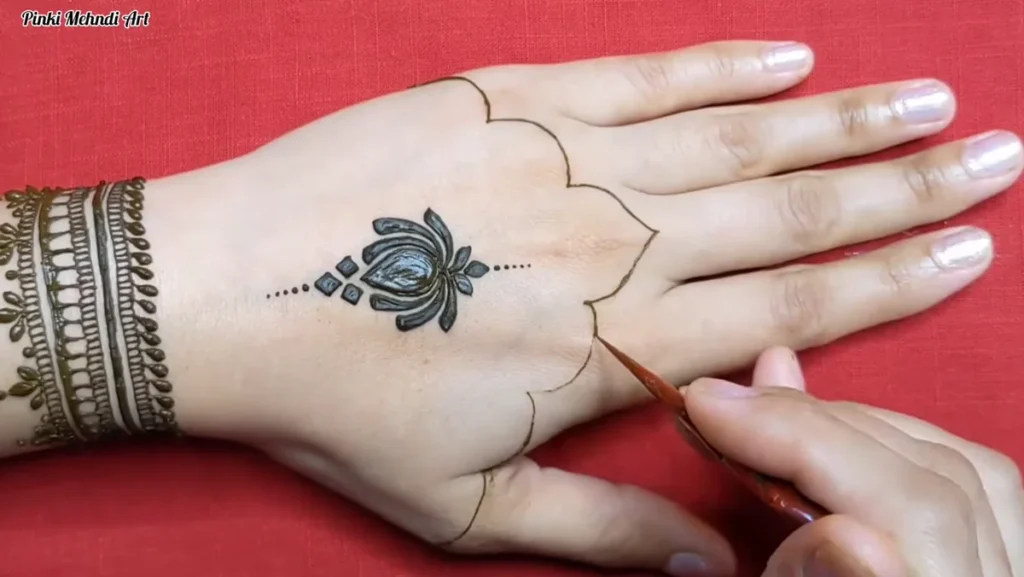
Build a slim wrist bracelet and place the lotus above it like a pendant. This is a good option when you want to keep the fingers free. Check that actual bangles will not hide the flower.
5 Lotus with a half mandala
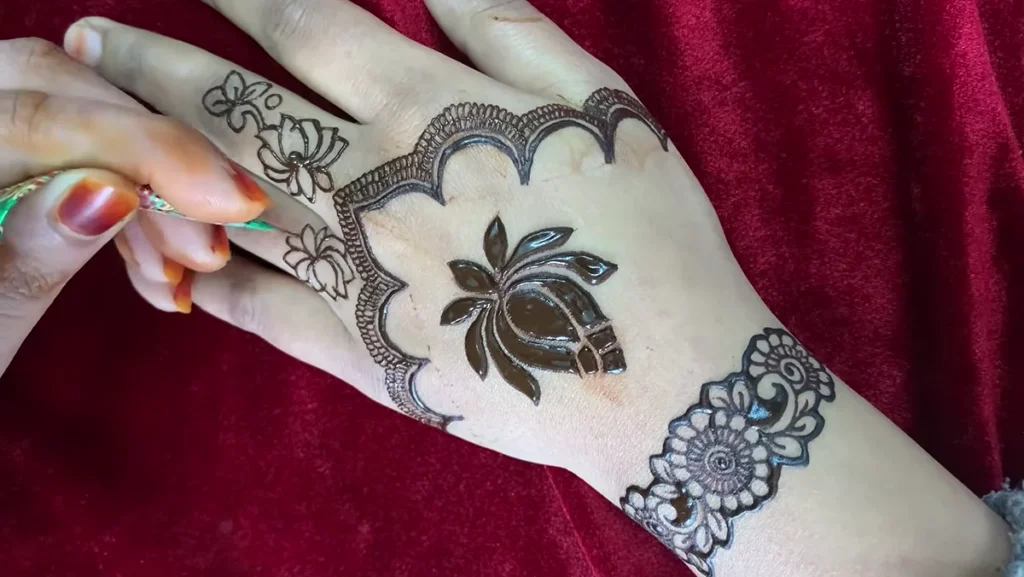
Use a semicircular fan behind the lotus rather than another full flower. The repeated arcs give the bloom a frame. Keep the smallest internal petals open so the center does not become a dense patch.
6 Lotus and jaali side panel
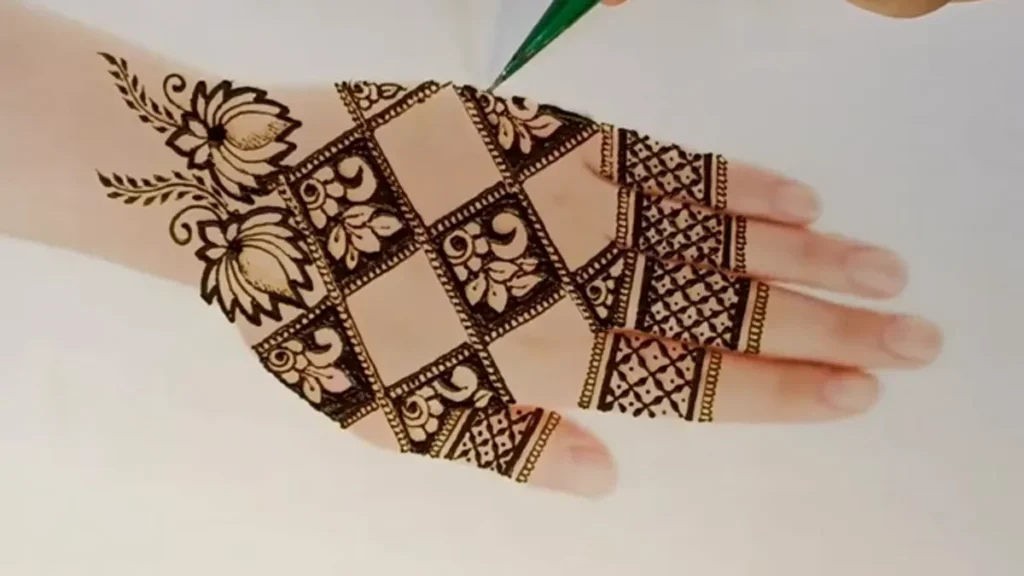
Put the lotus toward the thumb side and use lattice on the opposite side. Let the flower overlap the border slightly. Keep a clear strip between the grid and finger bands.
7 Two buds and a full bloom

Use one open lotus as the anchor and smaller closed buds along its stem. The different sizes create movement without three competing centerpieces.
8 Bridal lotus cuff

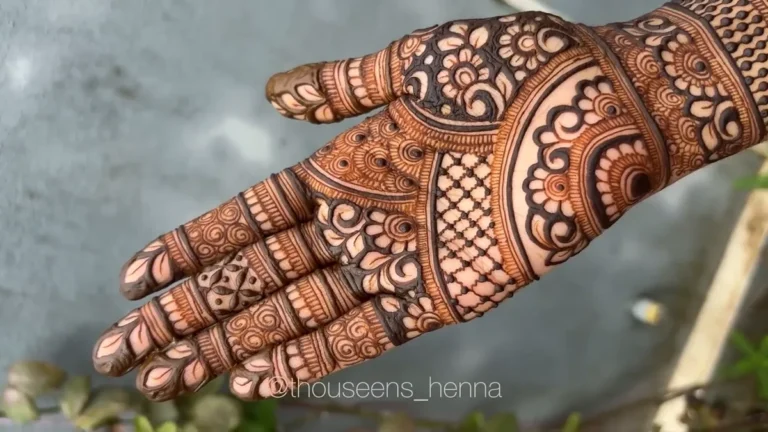
Place a broad floral cuff at the wrist and a large lotus above it. Repeat one petal shape on each finger. This needs careful planning so the cuff and flower do not merge.
9 Negative space lotus

Draw petals with clean outlines and keep the interiors bare. Add a decorated border outside the bloom. The blank petal areas become part of the design rather than unfinished spaces.
10 Complete back hand lotus layout

Combine a central bloom, a wrist panel and finger sections, leaving narrow spaces between all three. This is complete coverage by composition, even when some skin remains visible.
Draw a simple back hand lotus step by step

- Rest the hand comfortably, with fingers relaxed and slightly apart.
- Mark the center of the flower between wrist and knuckles.
- Draw one upright central petal, then a paired petal on each side. Use a reference if the lotus silhouette is unfamiliar.
- Add a lower layer of wider petals. Keep the lower edge gently curved rather than pointed like a leaf.
- Add a short stem or one dotted chain. Choose one connection for the first version.
- Finish with a finger band or wrist border only if the flower still has breathing room.
Before drawing on skin, repeat the same five-petal outline on paper. Your aim is a recognizable silhouette; tiny shading lines can come later.
How do I stop the petals looking uneven
Draw the central petal first and use it as the reference for both sides. Build outward in pairs instead of finishing one side completely before starting the other. If the hand curves or the petals differ slightly, keep the outside outline smooth rather than adding extra filler to hide the difference.
For an intentionally asymmetrical layout, change the flower position and stem direction. Accidental unevenness and a planned diagonal composition are different problems.
Match your ring sleeve and event
For engagement photos, keep the area around the ring finger relatively clear. With a long sleeve, place the lotus where the sleeve ends when the arm bends. If a bridal outfit already has heavy cuffs and bangles, a lighter wrist border can leave the flower easier to see.
For Eid, Diwali, Teej or a wedding, choose motifs according to your own preferences and traditions. The occasion does not require a particular density or religious symbol.
Stain and skin care considerations
Use a labelled body-art product and follow its instructions. Stain depth can differ between the back hand, palm and fingers, so do not judge the design against an edited photograph. Ask the artist to show a healed or developed stain as well as fresh paste.
Avoid black henna and harsh darkening methods. Do not cover irritated or broken skin. Stop using a product that causes burning or a rash and seek medical advice. A negative home spot test does not guarantee that a reaction cannot occur.
Save a reference your artist can use
Save a straight-on photo and note whether you want the thumb side filled, which fingers decorated and how far the wrist design should extend. Ask for permission before reproducing another artist’s original design or publishing their photograph.
For palm, finger and foot variations, visit the broader lotus mehndi design guide. Keep this back-hand reference focused on the placement you actually want.
Frequently asked questions
Where should a lotus sit on the back hand
Usually in the space between the wrist and knuckles, where its petals can stay visible. A smaller lotus can also sit near the wrist as a bracelet detail.
Can beginners draw lotus back hand mehndi
Yes. Start with a five-petal outline, a short stem and one simple band. A complete bridal layout is a separate, more demanding project.
How do I make a lotus design look bridal
Increase the coverage with a coordinated cuff and finger panels. Keep the main flower distinct rather than adding unrelated motifs into every gap.
Must every finger be covered
No. One decorated finger can connect a minimal design, while all five can support a fuller bridal composition.
Will the back hand stain match the palm
It may not. Product, skin and placement affect the result. Use real stain references and avoid promises of an identical shade everywhere.