
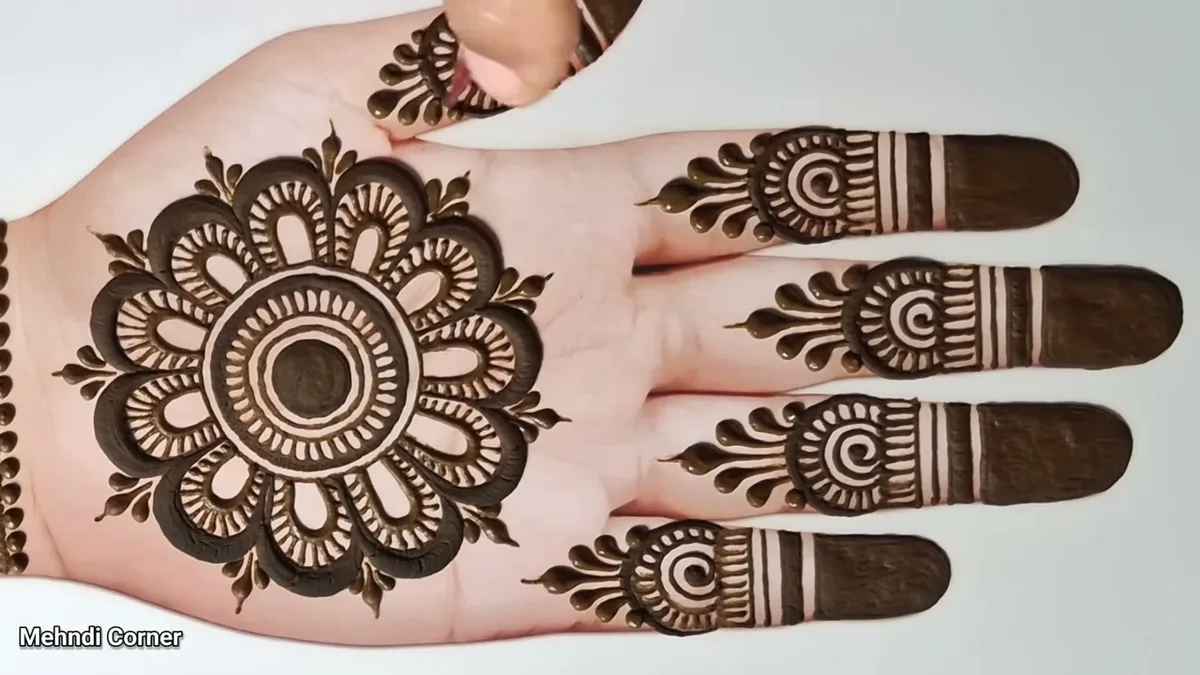
Mehndi Design Simple: 20+ Easy Designs for Beginners (Front Hand, Back Hand & Arabic)
For a simple mehndi design, start with one shape you can repeat: a dot, leaf, curved petal or narrow band. Combine it with one centerpiece and stop before the palm becomes crowded. A small design drawn steadily is a better first project than a detailed bridal reference copied at tiny scale.
Below are 24 practice ideas grouped by the skill they use. They are original drawing plans, not photographs of completed applications. Practise the strokes on paper or a suitable practice sheet before working on skin.

Prepare your tools and practice space
Use a labelled body-art product, a practice surface, tissues and a comfortable hand support. Test the cone flow first. A blocked tip or paste that needs excessive pressure makes controlled lines harder. Follow the product instructions; do not add unknown liquids or dyes to change the flow.
Keep the working area comfortable and well lit. Begin with your non-dominant hand as the model if you are applying to yourself with your dominant hand.
Simple front hand mehndi designs
1 Five petal flower
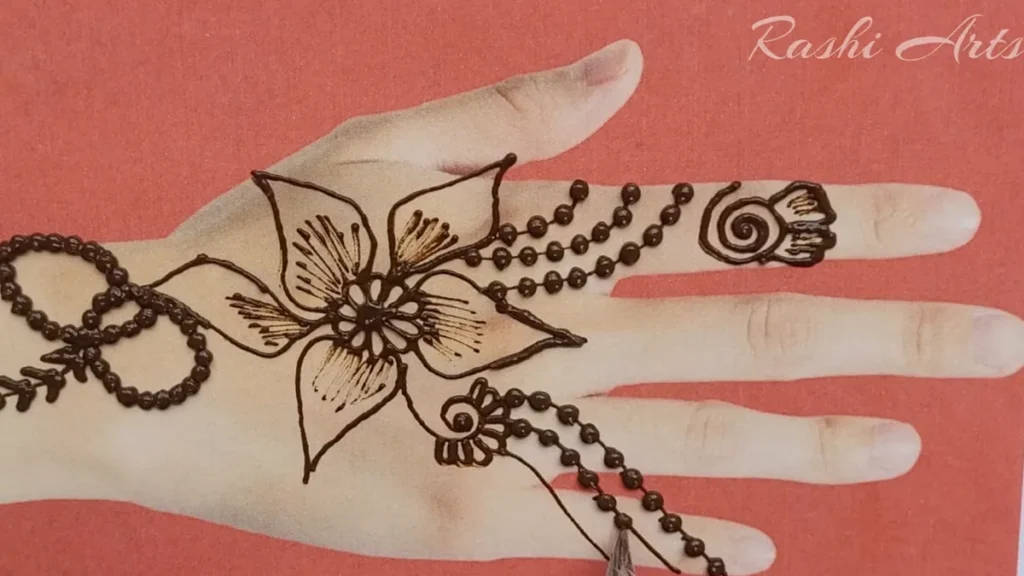
Place a center dot and draw five rounded petals around it. Leave the petals open. Practise making each petal start and end cleanly.
2 Dotted mandala

Draw a small circle, a ring of dots and one ring of short petals. Keep the gaps consistent before adding another layer.
3 Palm flower and finger band

Use the five-petal flower in the palm and add a narrow band to one finger. This practises coordinating separate elements without filling the whole hand.
4 One paisley
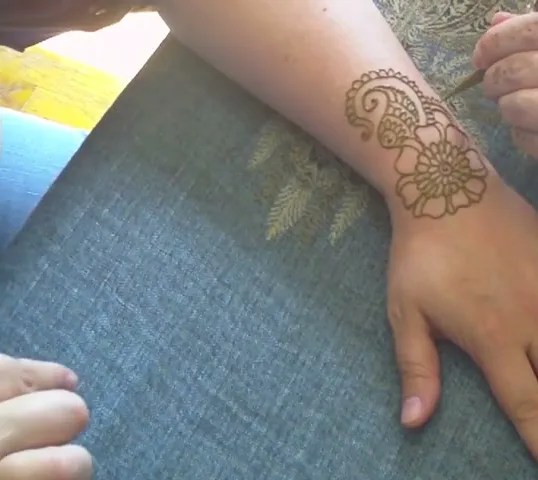
Draw a curved teardrop and bend its tip inward. Add one small leaf inside. Focus on the outline rather than shading.
5 Half palm scallops
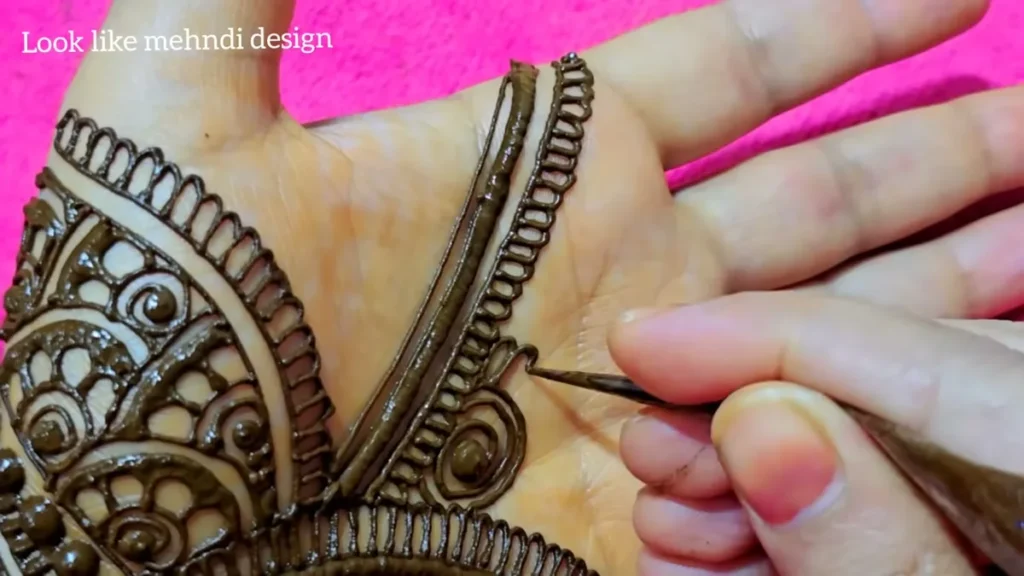
Draw a curved boundary across one side of the palm and repeat small scallops along it. Leave the other side open.
6 Small lotus

Draw one upright petal, paired side petals and a curved base. Keep the center open so the flower remains readable.
Simple back hand mehndi designs
7 Leaf trail

Draw one curved stem and add leaves on alternating sides. Use the same leaf shape throughout the trail.
8 Wrist flower

Place one flower above the wrist and add two short leaves. Check the position with your sleeve before applying.
9 Single finger chain

Draw a small hand ornament and connect it to one finger band with dots. Use fewer dots with even spacing.
10 Bracelet band
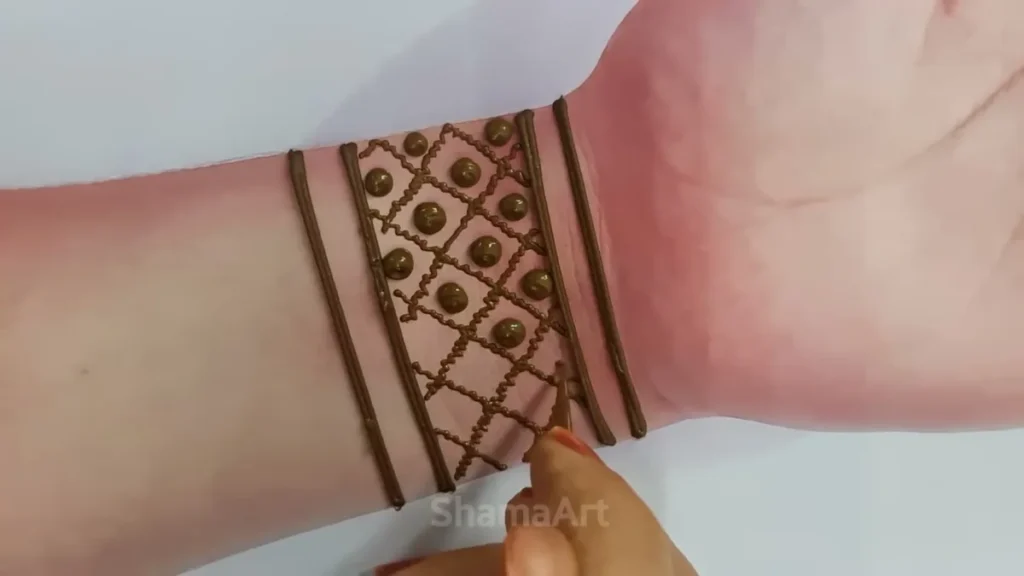
Draw two parallel wrist lines and fill the strip with short strokes. Practise keeping the border width consistent.
11 Side hand vine
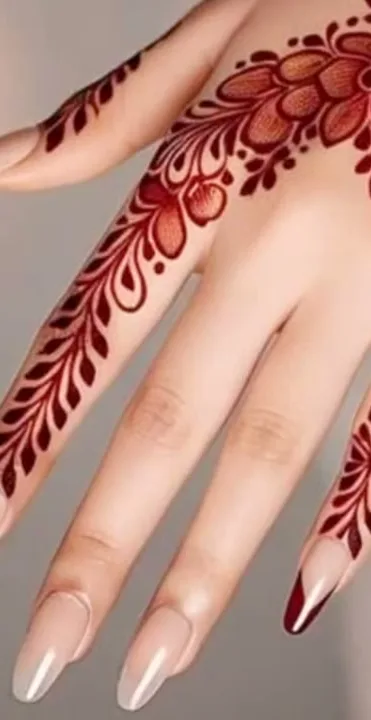
Follow the outer edge of the hand with a short stem and three leaf pairs. Stop before the trail runs into the wrist crease.
12 Open flower cluster
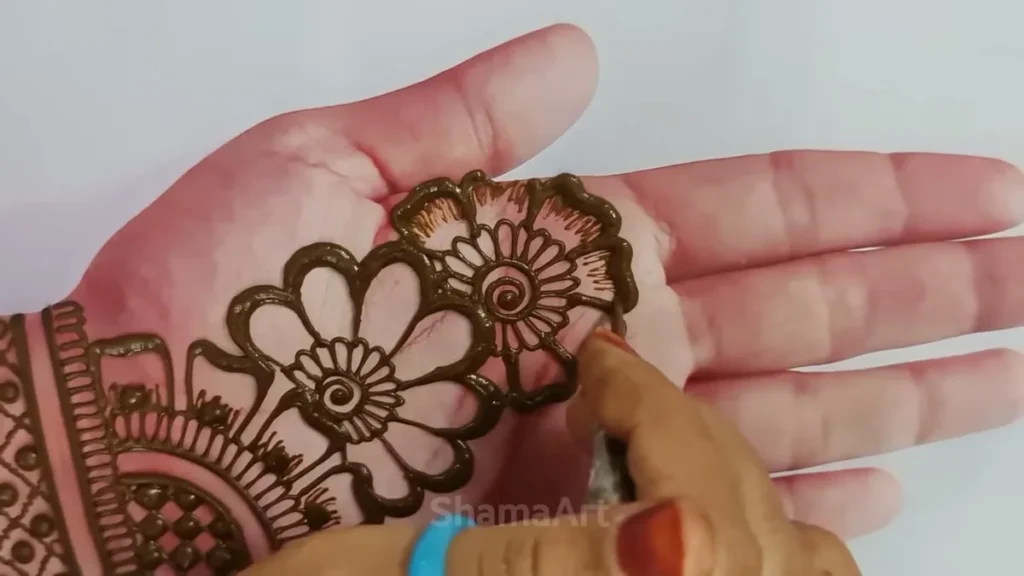
Place one large flower and two smaller flowers nearby. Keep small gaps between them instead of joining all the petals.
Easy Arabic inspired mehndi trails
13 Diagonal flower and leaves
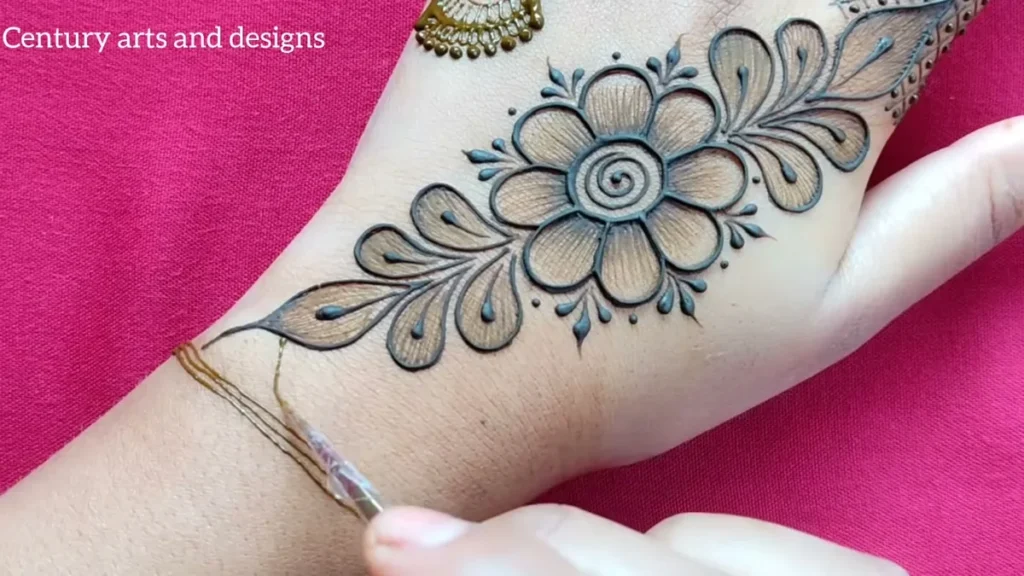
Place one bloom near the wrist and lead a leaf stem toward the index finger. Leave the opposite side of the hand bare.
14 Two flower trail

Draw a larger lower flower and a smaller upper flower. Connect them with a curved stem rather than extra blossoms.
15 Paisley and leaf trail

Use one paisley as the anchor and repeat leaf pairs along its direction. Keep the silhouette open.
16 Alternating buds
Draw three small buds along a curved stem, alternating sides. Make the top bud smaller to finish the trail.
17 Scalloped floral edge
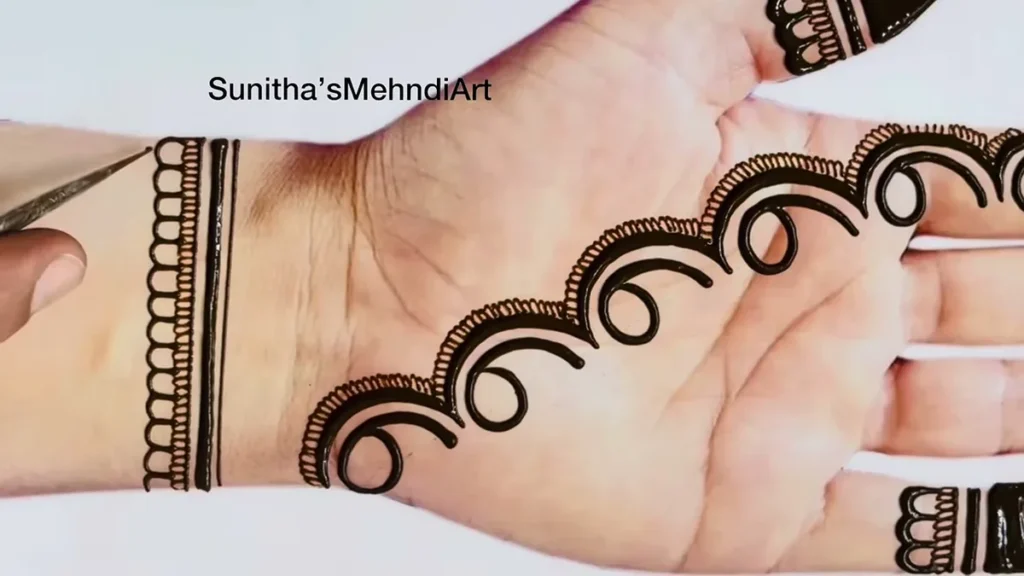
Add a row of small petal fans along one curved border. Repeat one fan size before trying graduated sizes.
18 Short wrist to knuckle trail
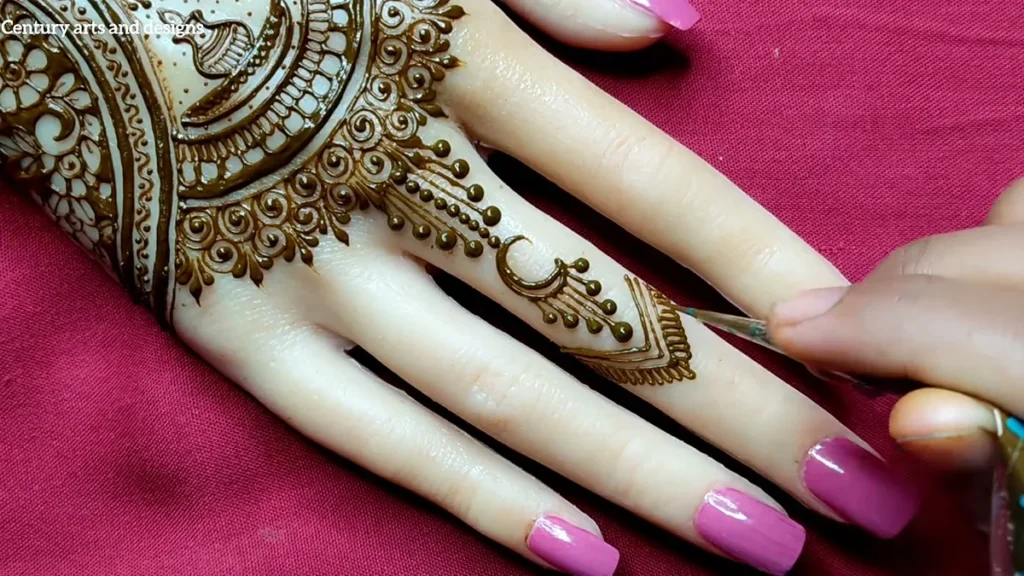
Use a flower at the wrist and a simple stem ending before the knuckles. This gives direction without finger filling.
Easy finger and small accent designs
19 Double bands

Draw two narrow bands on one finger. Keep them separated by visible skin rather than joining them into a thick block.
20 Three leaf accent
Draw a short stem with three leaves on the side of a finger. Use a relaxed hand position while placing it.
21 Dot taper

Make a short row of dots that gradually decrease in size. Practise releasing pressure between dots.
22 Mini petal fan

Draw a semicircle and add a few open petals above it. Use it near a finger band or wrist edge.
23 Simple heart accent

Draw two curves meeting at a lower point. Keep it separate from other motifs until you can make a clean outline.
24 Flower and dotted ring

Place a tiny flower and surround it with a loose dotted circle. Use enough space that the dots do not touch the petals.
A practice order that builds control

- Draw a row of separate dots. Aim for consistency before speed.
- Practise straight and curved lines without stopping halfway.
- Repeat leaves in one direction, then the opposite direction.
- Draw one flower at the size you intend to use.
- Combine the flower with a short stem and one finger band.
- Photograph the attempt and choose one thing to improve next time.
Do not measure progress only by how much of the hand you fill. Being able to repeat a clean curve is a more useful skill than covering gaps with dots.
Fix common beginner problems
Lines keep breaking: test the cone on a practice surface. Check for a blocked tip and follow the product’s handling instructions. Avoid squeezing harder until paste bursts out.
The design smudges: work in sections and keep your drawing hand away from fresh lines. Position the model hand comfortably rather than reaching across wet paste.
Petals run together: increase the gaps and reduce the number of internal lines. Practise a larger flower before shrinking it.
The left and right sides differ: use a central dot or petal as an anchor and build outward in pairs. Slight differences are normal; extra filler is rarely the best correction.
The stain looks light immediately: the paste and the developed stain are different stages. Follow the product’s care instructions and avoid harsh darkening tricks or guaranteed-color claims.
Keep skin safety separate from drawing technique
Avoid black henna and products with unclear ingredients. Do not use hair dye in a skin design or apply over cuts and rashes. Stop if a product causes burning, itching or irritation and seek medical advice. A small test area cannot guarantee that a product will never cause a reaction.
Choose one of the 24 designs, practise it several times and save a photo of your own result. When the strokes feel reliable, use our stylish simple mehndi guide to plan more polished combinations.
Frequently asked questions
What is the easiest mehndi design for a beginner
A five-petal flower with a short leaf stem uses a small set of repeatable strokes. A dotted mandala is another manageable starting point.
Should I learn Arabic or full hand mehndi first
Start with a short open trail or small centerpiece. A full-hand composition adds placement and spacing challenges before the basic strokes are reliable.
Can I learn without drawing directly on skin
Yes. Practise on paper or a suitable practice sheet first. This lets you adjust shapes without repeatedly treating your skin.
How many designs should I practise at once
Pick one layout and a few basic strokes. Repeating them is more useful than attempting many unrelated detailed patterns in one session.
Do I need to fill all five fingers
No. A single finger band can finish a simple layout. Add more coverage only when it improves the composition you want.




2 Comments