
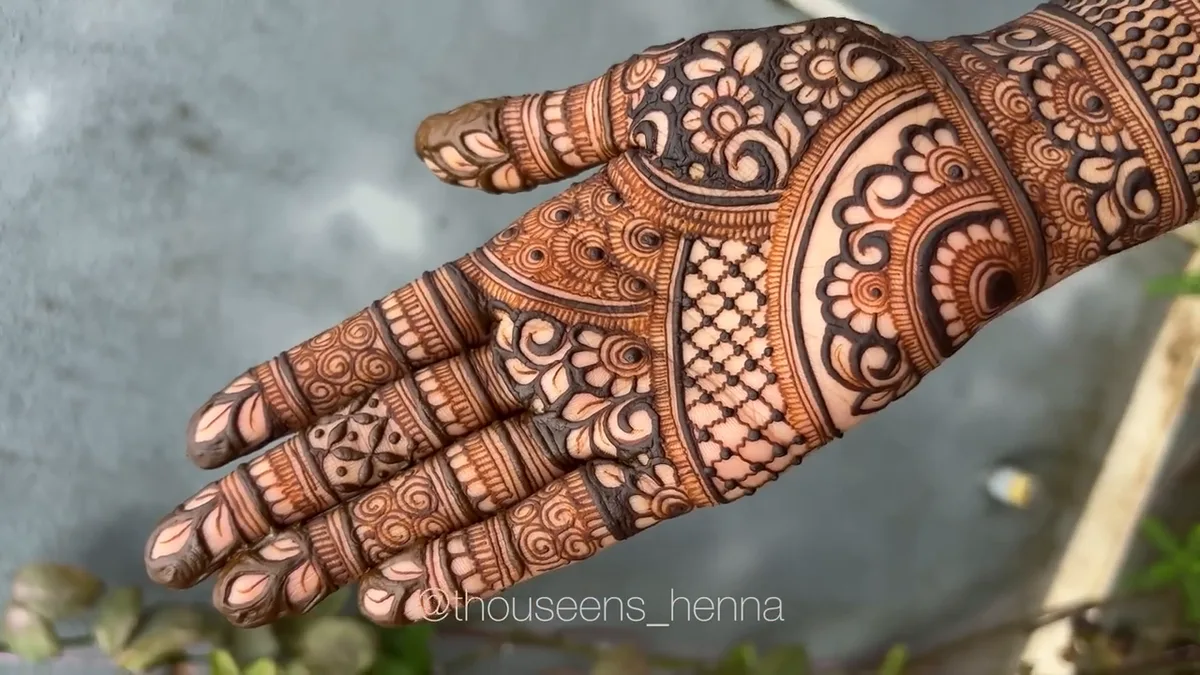
Royal Front Hand Mehndi Design: Stylish Ideas, Step-by-Step Builds & Dark-Stain Tips
A royal front hand mehndi design starts with a clear palm centerpiece and builds outward through arches, paisleys, lattice or a decorated wrist cuff. For a rich look that still reads clearly, choose one main motif, repeat a small detail on the fingers and leave visible skin around the centerpiece.
Decide how much coverage you want before choosing a photo. A bride may want a filled palm and extended cuff; a wedding guest may prefer a single lotus inside an arch. Both can look royal. Tiny details everywhere are optional.
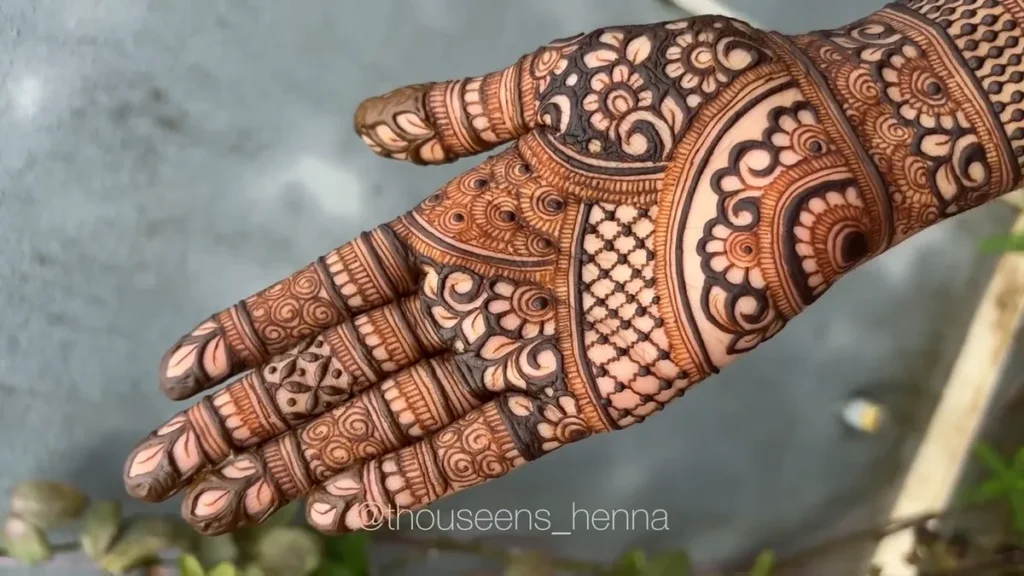
Choose your royal front hand mehndi layout
- For a bridal palm: a framed lotus or peacock with balanced finger panels and a broad wrist border.
- For an engagement: a central rosette, open side panels and a short cuff that leaves room for jewellery.
- For Eid or a family celebration: a diagonal paisley trail with one ornate flower and simpler fingertips.
- For a beginner: one scalloped mandala and repeated finger bands. Skip miniature portraits and dense lattice on a first attempt.
Hold your hand naturally when checking a reference. A design that looks balanced with the fingers spread wide may feel crowded when the hand relaxes.
Twelve royal front hand mehndi design ideas
1 Lotus inside a palace arch

Place a lotus just above the palm center and frame it with a rounded arch. Add a second border outside the arch rather than filling the petals. Keep the flower larger than the surrounding details so it remains visible in a wedding photograph.
2 Peacock with an open tail

Use a curved peacock body near the thumb side and let the tail sweep across the palm. Repeat a feather shape on one finger. This is an artist-led option because the neck and head need a steady outline.
3 Mandala with five different finger panels

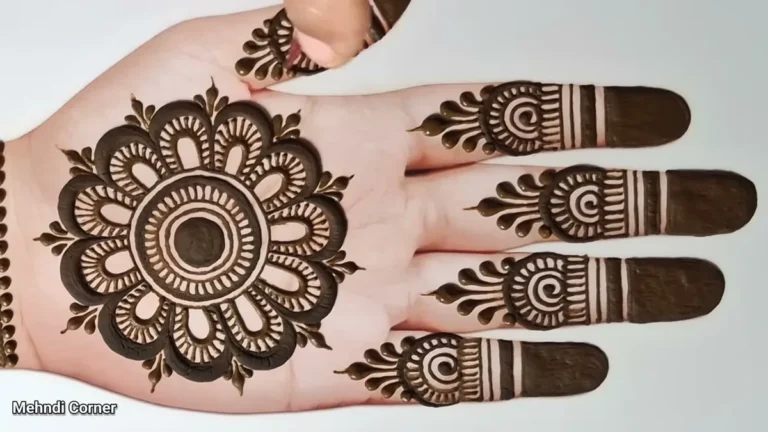
Draw one circular mandala on the palm. Give the fingers coordinated bands, leaf rows or small checks. Use a shared border on each finger to connect the panels without making every finger identical.
4 Jharokha window and hanging dots
A jharokha-inspired window can frame a small flower. Leave the inside of the window mostly open and suspend a short dotted chain below it. This gives the architectural effect without covering the whole palm.
5 Paisley pair with a narrow wrist cuff
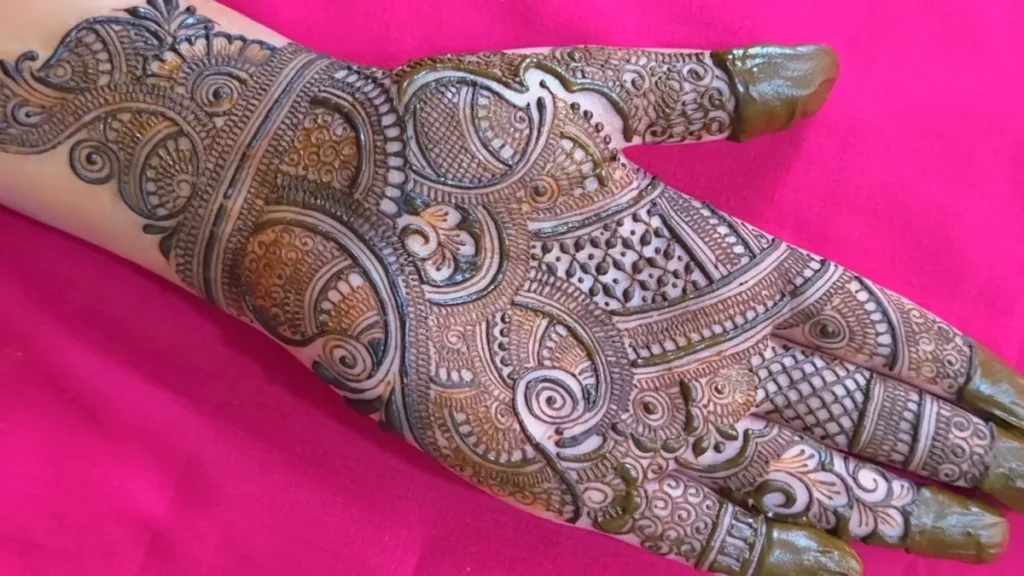
Curve two paisleys toward a shared center. Fill one with lines and leave the other partly open. The different textures provide contrast; a short cuff stops the design from competing with bangles.
6 Royal half palm

Fill one side of the palm with floral panels and finish the edge with scallops. Leave the other side bare except for a few dots. It suits someone who wants a substantial design with less coverage.
7 Lattice frame around a clear flower
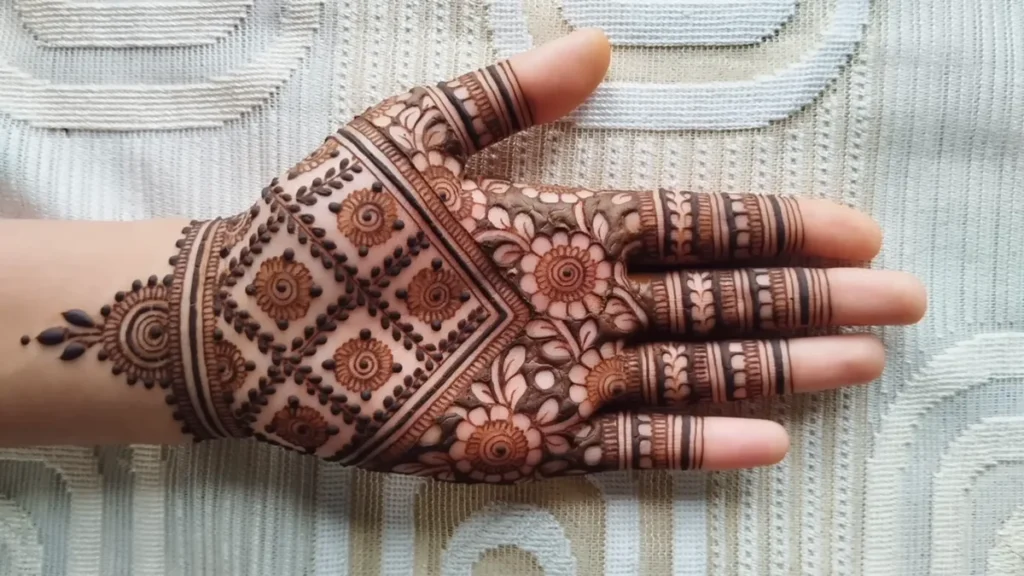
Put jaali around the centerpiece, not across it. Make the grid spacing wide enough that neighboring lines remain separate after application. Add dots at selected intersections rather than filling every square.
8 Jewellery inspired palm and cuff
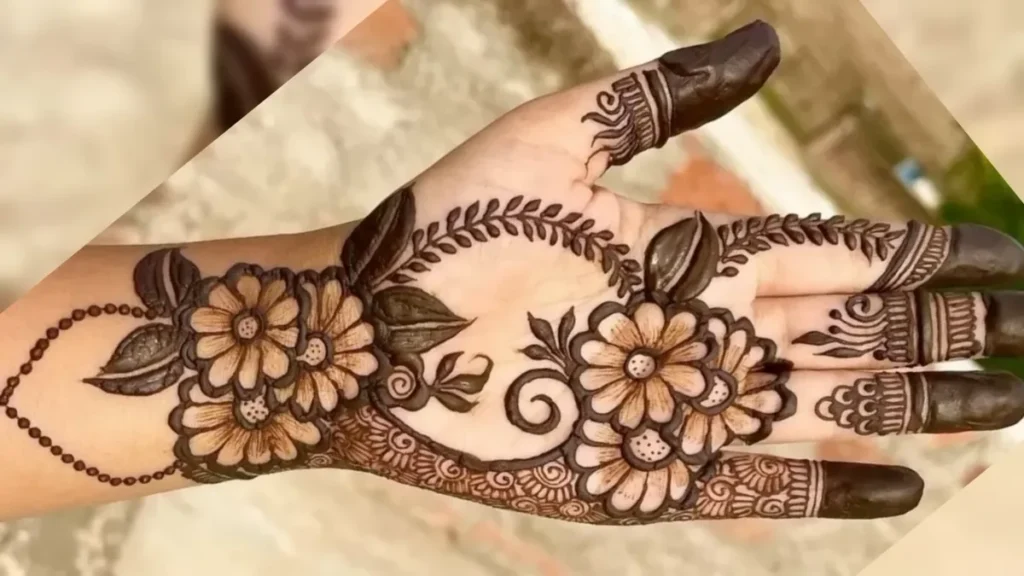
Connect a small palm medallion to a wrist bracelet using dotted chains. Keep the chains fewer and cleaner than the reference if your palm is small. The design should have one obvious center.
9 Floral Arabic fusion

Run a bold flower-and-leaf trail from the wrist toward the index finger. Add a small arch on the free side of the palm. This combines a flowing layout with a more formal centerpiece.
10 Matching paired palms
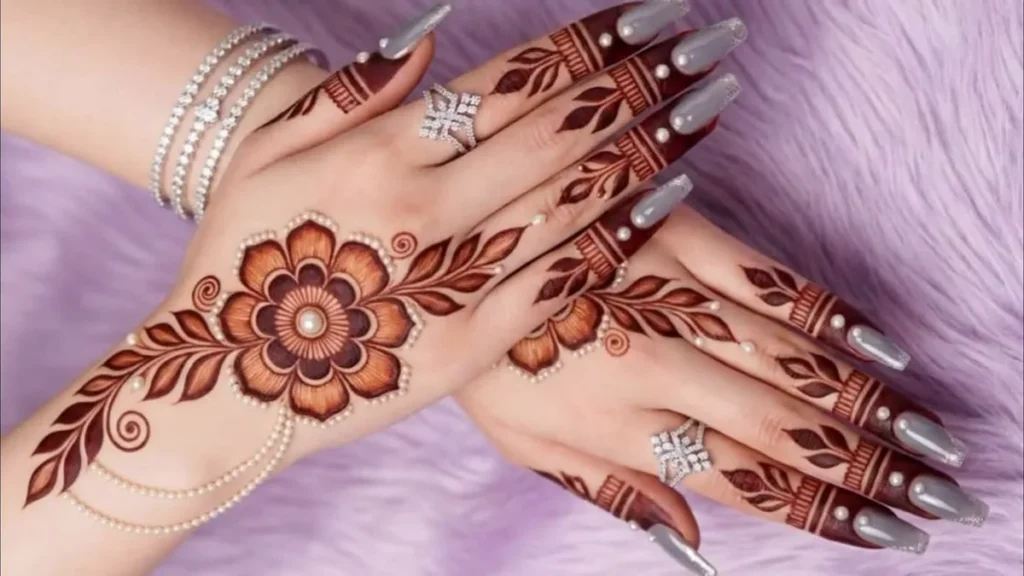
Repeat the same main motif on both hands while allowing the small fillers to differ. Photograph the palms together during planning. Exact miniature mirroring is harder than matching the overall size and visual weight.
11 Scalloped cuff with a small mandala

Let the wrist carry the heavier work and keep the palm centerpiece compact. Check where your sleeve and bangles sit before committing to the cuff length.
12 Open palm with decorated fingers

Use a small rosette on the palm and place the detailed work on the fingers. This is useful when you like the royal texture but do not want a densely filled palm.
Build a simple royal design step by step

- Practise dots, curves and parallel lines on paper or a practice sheet. Test that the cone produces a continuous line without hard squeezing.
- Choose an upright direction: the motif can face you or face outward when you show your palms. Keep both hands consistent.
- Place the central flower first. Leave room for a border rather than enlarging the centerpiece until it touches the palm edges.
- Draw one arch around it and add a scalloped outer edge. Pause before adding filler.
- Add two or three narrow finger bands. Repeat the scallop or petal shape to connect them visually.
- Finish with a wrist border and a few dots in empty corners. Stop while the centerpiece is still easy to identify.
If you want a more elaborate bridal version, ask an artist to develop this layout with fine jaali, portraits or extended forearm work. Save a reference for the coverage as well as the motif.
Why does detailed mehndi turn into a dark patch
The problem is often spacing. Lines placed almost against each other can lose their separation in the finished design. Make the outer silhouette bold, use finer internal details and keep deliberate gaps between panels. A palm does not need to be completely filled to look finished.
For a small hand, reduce the number of motifs before reducing every motif to a tiny size. A visible lotus and a simple cuff usually make a clearer composition than several miniature centerpieces.
Dark stain tips without harsh shortcuts
Choose a clearly labelled product and ask the artist about ingredients and aftercare. Follow the product instructions for application and paste removal. Natural henna color can develop after the paste comes away; the immediate result is not necessarily the final shade. Photograph the stain under the same light if you want to compare it over time.
Avoid products sold as black henna and do not add hair dye to body-art paste. Skip hot pans, clove fumes, bleach, strong cleaners and other attempts to force a darker result. Do not apply over broken or irritated skin. If the product causes burning, itching or a rash, stop using it and seek medical advice; breathing difficulty or facial swelling needs urgent help.
For event planning, ask your artist when to schedule the appointment for their product rather than relying on a guaranteed overnight result. Stain intensity varies with the paste, placement, skin and care.
What to send your mehndi artist
Send three things: your favorite centerpiece, a photo showing the amount of coverage you want, and a picture of the jewellery or sleeve that will sit beside it. Specify front hand, one or both palms, wrist length and whether a lighter back-hand design is also needed.
Save the design number that suits your coverage first. For a floral version, compare our lotus mehndi guide; for less detailed drawing, start with the simple beginner designs.
Frequently asked questions
Can a royal front hand mehndi design be simple
Yes. A single framed motif, a scalloped border and coordinated finger bands can give a formal royal look without a fully filled palm.
Which royal design is easiest for beginners
A small mandala with repeated finger bands is a manageable starting point. Practise each shape separately before joining the layout.
Should the front and back hand match exactly
They can share a flower, border or finger detail without having identical coverage. A fuller palm and lighter back hand are a practical pairing.
How can I make the stain look darker in photos
Use consistent natural lighting and avoid heavy filters. Do not change the skin or stain color to imply a result the product did not produce.
Is black henna a shortcut to a stronger stain
Avoid it. Some black henna products contain PPD, an ingredient associated with serious skin reactions. A dark immediate mark is not proof that a product is suitable for skin.




2 Comments