
Mehndi Design Simple: 20+ Easy Designs for Beginners (Front Hand, Back Hand & Arabic)
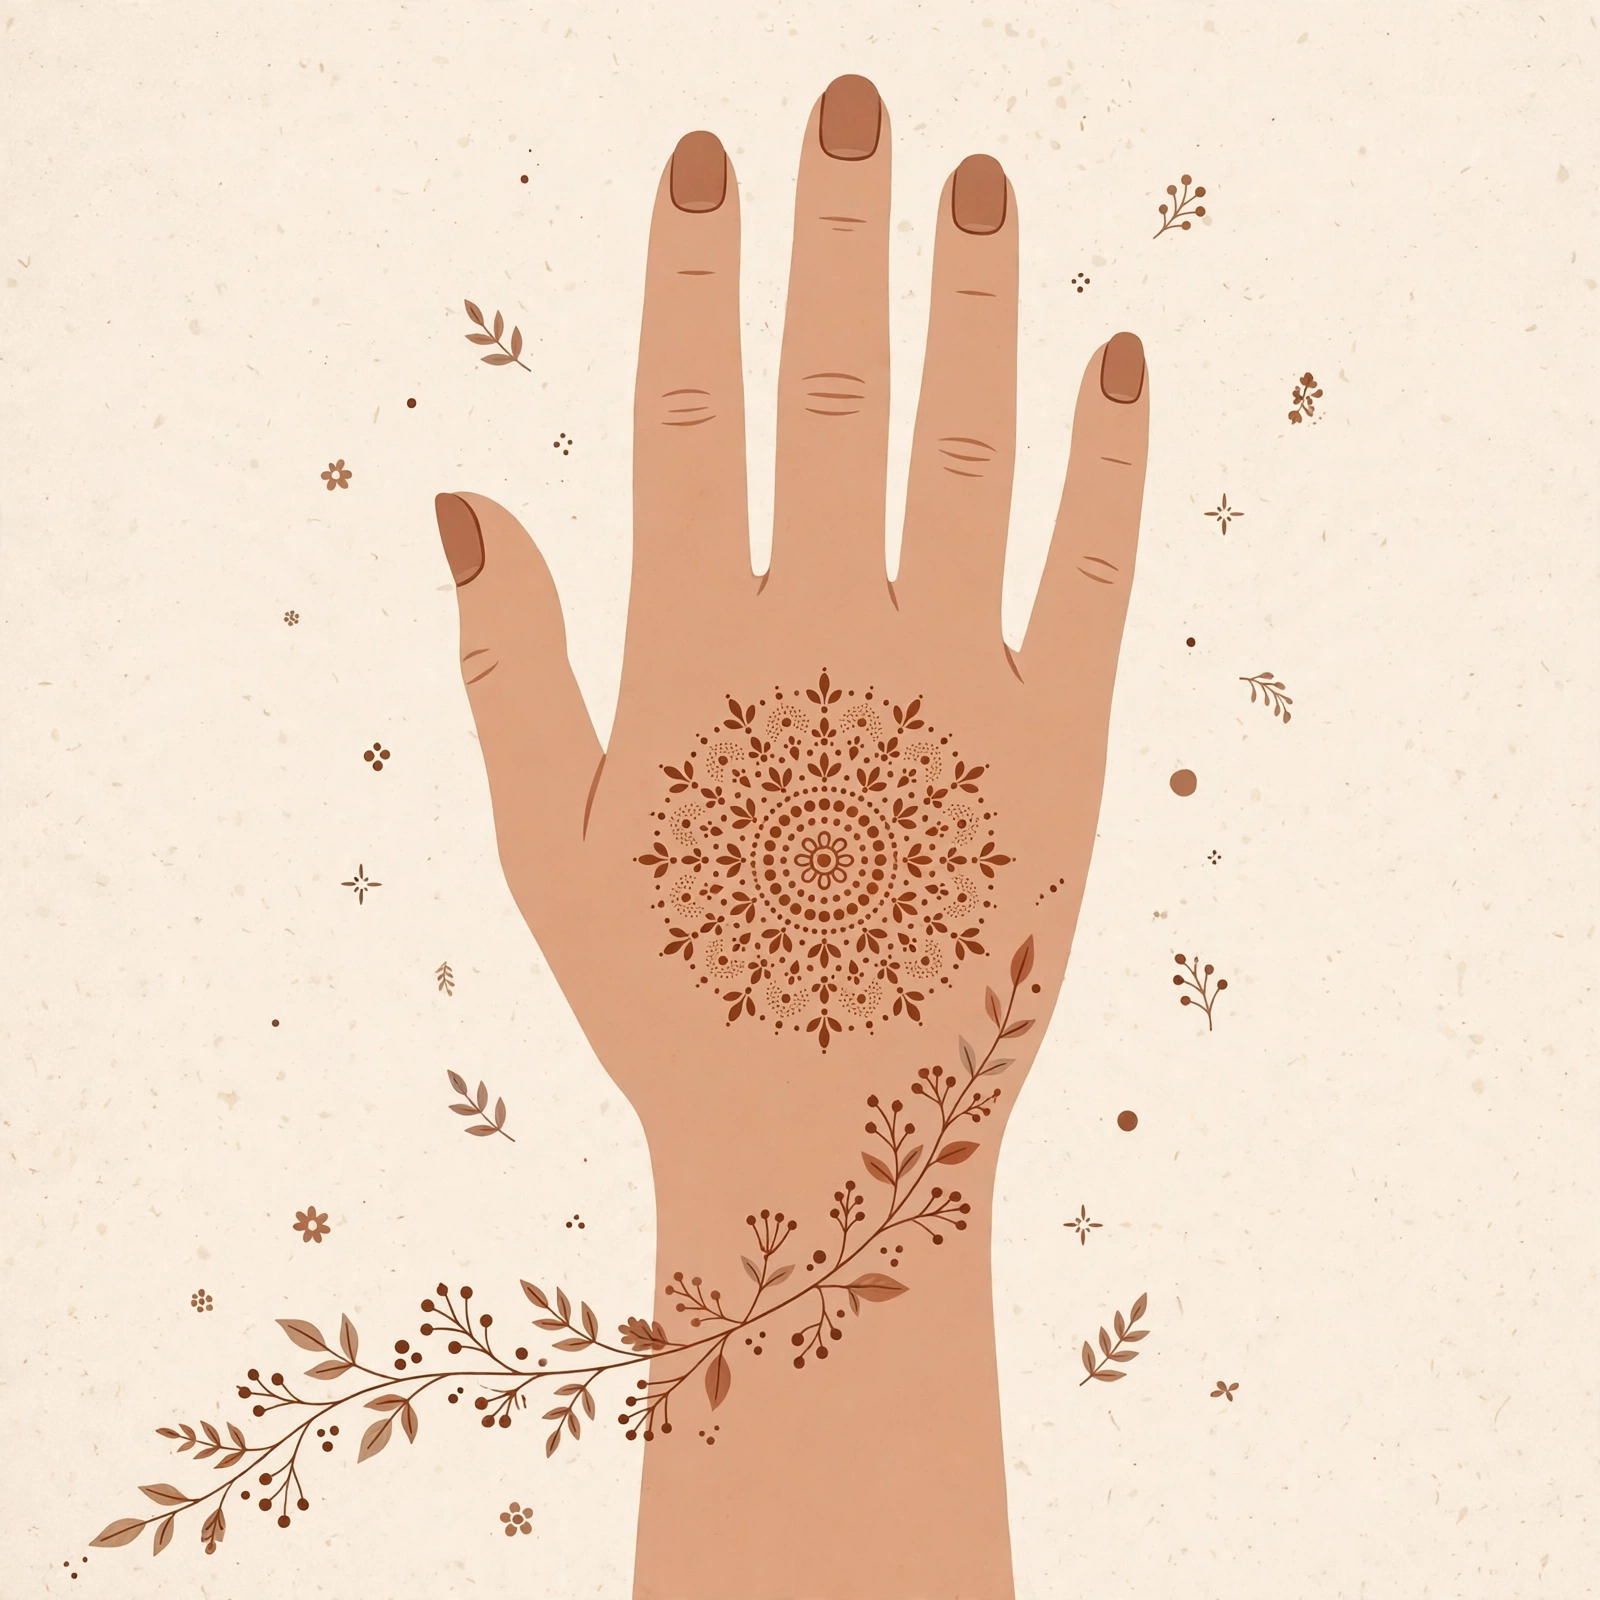
A simple mehndi design uses few motifs, lots of open space, and lines a beginner can actually draw. Most of the designs in this guide take 5 to 30 minutes. Pick by time, not only by picture, and start with the first design below: a small gol tikki with dots and finger lines. If you later want a richer palm, see our guide to royal front hand mehndi designs for the fuller, occasion versions.
Simple does not mean plain. A small mandala, a clean vine and a bracelet band can look finished in a photo, especially when the lines are even and the fingers are decorated. The forgiving motifs in this guide, dots, leaves and vines, hide small wobbles well.
Before you start: tools and prep
- A ready-made fine-tip cone, recommended for beginners.
- Clean, dry hands, with no lotion on the area you will draw on.
- Paper to practise on first, especially circles and dots.
- Cotton swabs for quick fixes while the paste is still wet.
- Lemon-sugar for dabbing on semi-dry paste, and oil for after removal.
Homemade paste can wait until later. A ready-made cone removes one variable, so you can focus on line control. You can buy ready-made cones at local stores in India and Pakistan; no price is given here, because prices vary by shop and brand.
Front hand versus back hand
| Front hand (palm) | Back hand | |
|---|---|---|
| Visibility | Very visible in greetings and photos | Visible with rings and bangles |
| Difficulty for self-application | Harder to draw on yourself | Flatter and easier to draw on yourself |
| Time | Often longer, because the palm is curved | Often quicker for the same size of design |
| Best occasion | Wedding guest, festival, photos | Everyday, college, party, first attempt |
| Jewellery pairing | Works with a wrist cuff | Works well with rings and bangles |
If you can only do one side, start with the back hand. It is flatter, easier to reach, and a small design there still looks complete.
Beginner ladder by time
Under 5 minutes
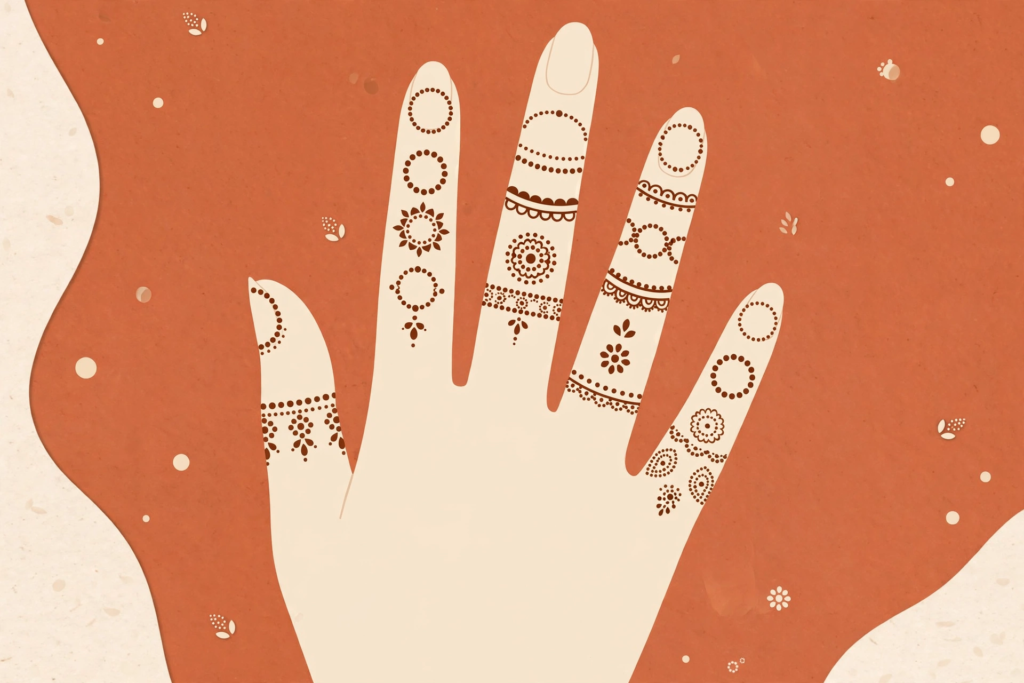
- Finger-tip caps: fill just the fingertips. Start at the tip, work down in a straight edge, and keep each cap the same length. Forgiving, because a small uneven edge reads as a band.
- Three-line bracelet: draw three thin lines around the wrist. Start at the inner wrist and keep the spacing even. Forgiving, because dots between the lines hide wobbles.
- Single dot-and-circle palm: draw one small circle in the palm centre, with dots around it. Start at the centre, then add the dots. Forgiving, because the eye reads the circle, not small line wobbles.
5 to 15 minutes
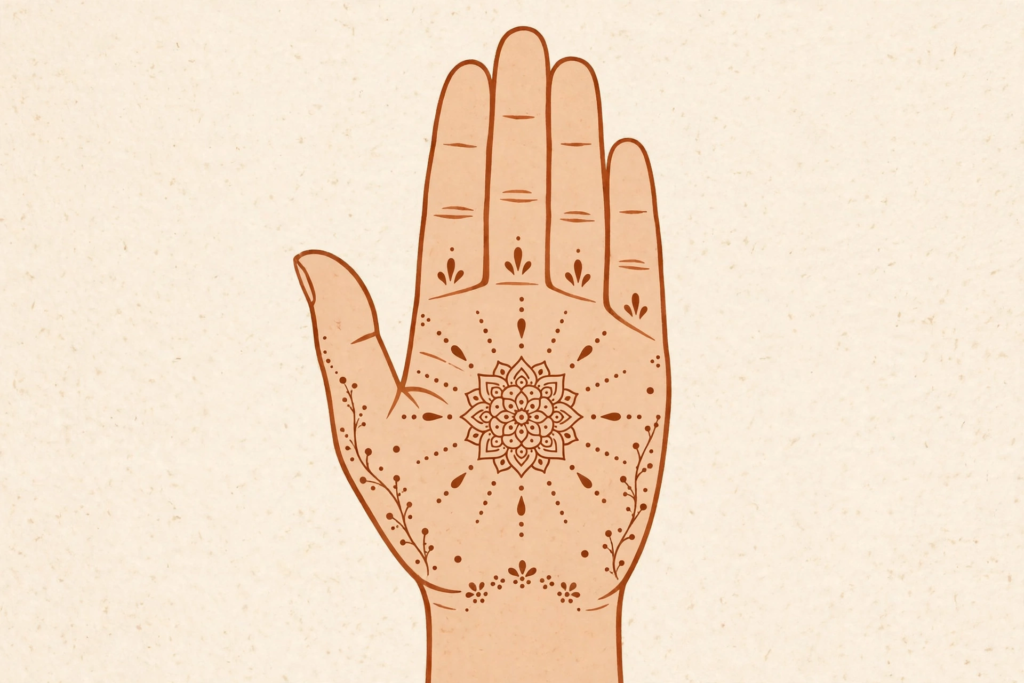
- Small central mandala: a small layered circle on the palm or back hand. Start at the centre and build outward in rings. Difficulty: beginner.
- Half-mandala edge: half a mandala along a finger edge or wrist. Start at the straight edge, then add the curve. Difficulty: beginner.
- Single-finger trail: a vine with leaves up one finger. Start at the fingertip and work toward the hand. Difficulty: beginner.
- Bracelet and finger chain: a wrist band joined to a finger by a thin chain. Start at the wrist, then draw the chain. Difficulty: beginner to intermediate.
- Heart or minimal shape: one small heart or star with dots around it. Start with the shape outline, then add dots. Difficulty: beginner.
15 to 30 minutes
- Floral trail, finger to wrist: flowers joined by a vine from a finger to the wrist. Start at the largest flower, then join with the vine. Difficulty: intermediate.
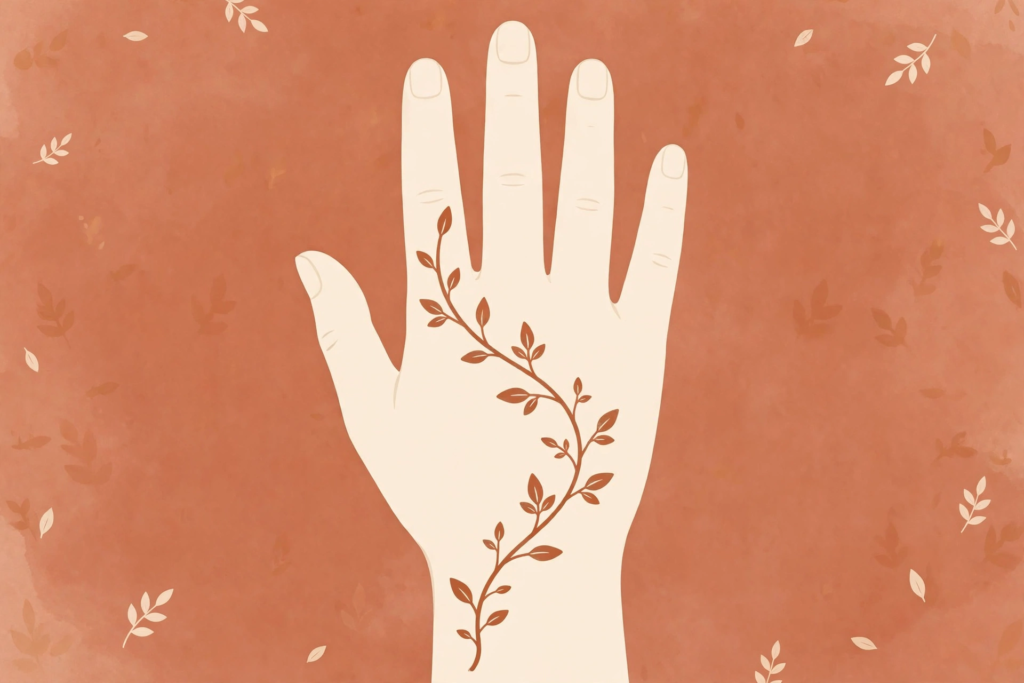
- Leaf vine trail: a curving vine with leaves on both sides. Start at the wrist and curve toward a finger. Difficulty: beginner to intermediate.
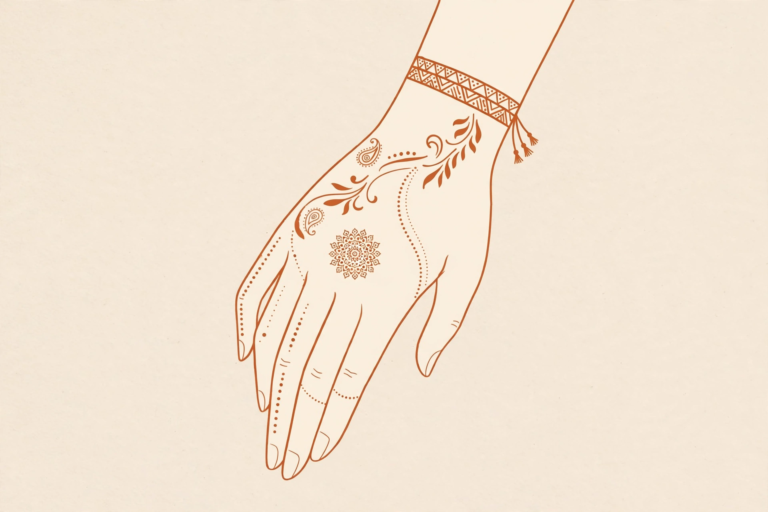
- Simple Arabic diagonal trail: a diagonal floral trail across the back hand. Start at the wrist corner and work diagonally. Difficulty: intermediate.
- Paisley starter motif: one paisley with dots and a small vine. Start with the paisley outline, then fill lightly. Difficulty: intermediate.
- Lotus front hand with finger bands: a lotus on the palm with bands on the fingers. Start with the lotus, then add the bands. Difficulty: intermediate.
- Back-hand central floral with vines: a flower in the centre of the back hand, with vines toward the fingers. Start at the centre flower, then add vines. Difficulty: intermediate.
Designs by placement
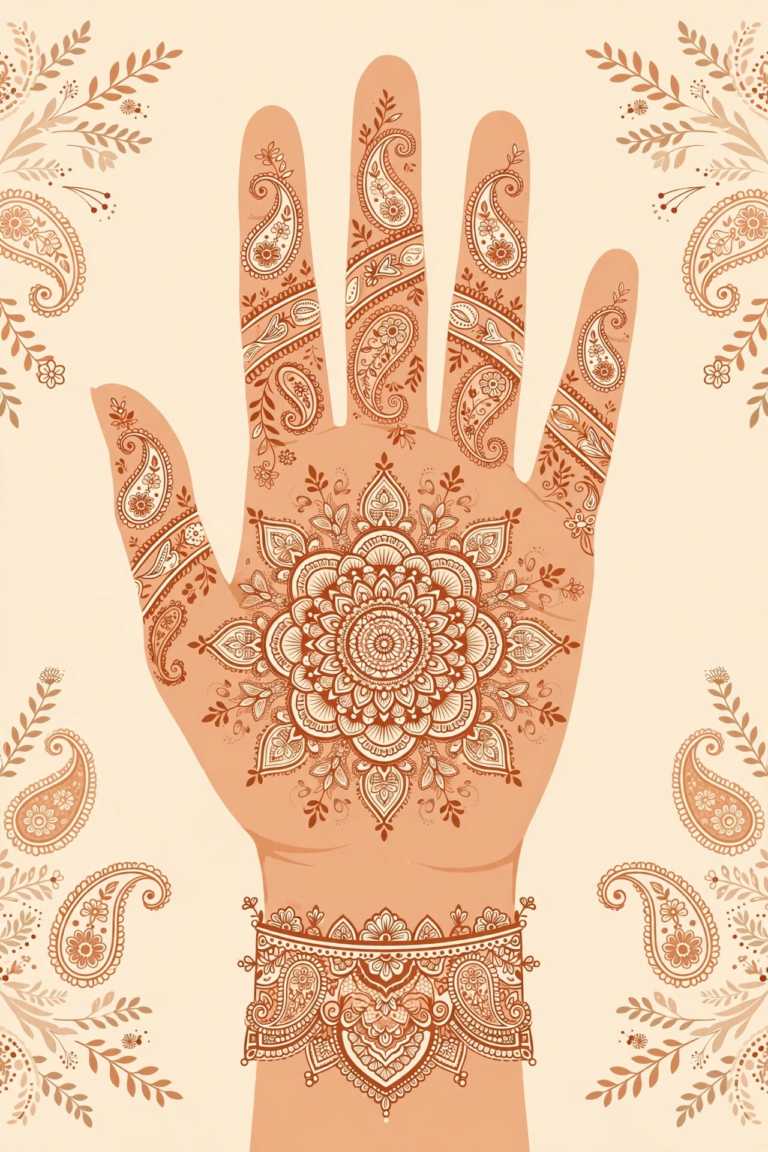
- Front hand (palm): small mandala, lotus, or dot-and-circle centre, with finger bands.
- Back hand: central flower with vines, Arabic diagonal trail, or half-mandala edge.
- Fingers only: fingertip caps, a single-finger trail, or a ring-style chain.
- Wrist and bracelet: three-line bracelet, or a bracelet joined to a finger chain.
- Feet, briefly: feet follow the same simple rule, few motifs and open space, but this is a hand guide, so keep foot designs small and simple if you try them.
Designs by style
- Floral: one flower, joined by a vine. Start with the largest flower.
- Mandala: a small layered circle. Start at the centre and build outward.
- Arabic: a flowing diagonal trail with open space. Start at the wrist corner.
- Geometric and dot-line: dots, lines and small grids. Start with a straight line, then add dots.
- Paisley: one teardrop with light fill. Start with the outline.
- Butterfly and minimal: one small butterfly or heart, with dots. Start with the outline, then add dots.

Designs by occasion
- Everyday and college: under 5 minutes, such as fingertip caps or a three-line bracelet.
- Eid: 5 to 15 minutes, such as a small mandala or a leaf vine trail.
- Wedding guest or bridesmaid: 15 to 30 minutes, such as a floral trail or a lotus front hand.
- Karwa Chauth: a palm mandala with finger bands, in the 15 to 30 minute range.
- Party: a back-hand floral or Arabic trail.
- Kids and first-timers: under 5 minutes, with an adult helping younger children, and a design a child or student can finish without help.
Fix a wobbly line
Do not start again. Add dots along a wobbly line to turn it into a dot chain, turn a blob into a leaf or flower, thicken a thin line into a band, or use fingertip fill to hide uneven edges. Practise circles and dots on paper first, and keep your tone encouraging: a wobble is part of learning, not a failure.
Dark, long-lasting stain, safely
Keep the paste on for 6 to 8 hours, or overnight where possible. Dab lemon-sugar lightly on semi-dry paste, scrape the paste off rather than washing it off, and avoid water for 12 to 24 hours. Apply oil after removal. Colour peaks at 24 to 48 hours, moving from orange to brown or maroon, so apply mehndi 1 to 2 days before the event. Lighter designs fade faster, because there is less fill, so say so honestly when you choose a minimal design.
As a competitor-snippet timeline only, not a guaranteed result: one competitor snippet gives a timeline of orange to light brown in 24 hours, deep brown or maroon by 48 hours, lasting 1 to 3 weeks. Your result will vary with skin, henna quality and aftercare, and lighter designs will fade sooner.
Safety: natural henna versus black mehndi
Natural henna is never jet black. It stains orange to reddish-brown. Avoid black mehndi and instant-dark cones: they can contain PPD, which can cause burns and scarring, and they are not natural henna. Patch-test any new cone or oil before a full design. Do not use Vicks or any unverified folk remedy as a darkening method; this guide does not recommend it.
Try this next: pick one design from the under-5-minute list, practise it on paper, and then try it on the back of one hand. If it feels easy, move up one time band next time.
Frequently asked questions
What is the easiest mehndi design for beginners?
The small gol tikki with dots and finger lines. It takes under 5 minutes, it needs only a circle, dots and straight lines, and it looks complete on its own. Practise the circle on paper first, then try it on the back of your hand.
How can I do simple mehndi on my own hand?
Start with the back hand, because it is flatter and easier to reach. Clean and dry your hand, use a ready-made fine-tip cone, practise on paper, and start at a centre point, such as a small mandala or a flower, then build outward. Keep the design small for your first try.
Which is easier: front hand or back hand mehndi?
The back hand is easier for self-application, because it is flatter and you can see and reach it more easily. The front hand, the palm, is more visible in greetings and photos, but it is harder to draw on yourself because the palm is curved.
How long does a simple mehndi design take?
Most simple designs in this guide take 5 to 30 minutes. Under-5-minute designs include fingertip caps and a three-line bracelet, 5-to-15-minute designs include a small mandala and a single-finger trail, and 15-to-30-minute designs include a floral trail and a simple Arabic diagonal trail.
How do I make simple mehndi darker?
Keep the paste on for 6 to 8 hours, or overnight where possible, dab lemon-sugar lightly on semi-dry paste, scrape the paste off rather than washing it off, and avoid water for 12 to 24 hours. Apply oil after removal, and wait 24 to 48 hours for the colour to peak. Lighter designs fade faster, because there is less fill.
Why is my mehndi light or orange at first?
Natural henna starts orange and deepens to brown or maroon over 24 to 48 hours. Light colour on day one is normal, especially for a simple design with little fill. Judge the final colour after two days, not straight after the paste comes off.
How long does simple mehndi last?
No single figure is promised here. As a competitor-snippet timeline only, one snippet gives orange to light brown in 24 hours, deep brown or maroon by 48 hours, and a total of 1 to 3 weeks, with lighter designs fading sooner. Your result depends on skin, henna quality and aftercare.
Can kids do simple mehndi designs?
Yes, for the under-5-minute designs, such as fingertip caps and dots, with an adult helping younger children. Choose a design a child or student can finish without help, use natural henna only, and patch-test a new cone first.
Do I need an artist for a simple design?
Not for the designs in this guide. A beginner can do the under-15-minute designs at home with a ready-made cone and paper practice. An artist is worth it for a full bridal palm, dense jaali, or a design where both hands must match exactly, such as our royal front hand mehndi design guide.
Is black mehndi safe?
No. Black mehndi and instant-dark cones are not natural henna, and they can contain PPD, which can cause burns and scarring. Natural henna stains orange to reddish-brown, never jet black. Avoid any product that promises an instant jet-black stain.
Note on sources: this guide is based on a research brief that summarises guide and FAQ pages. It does not include a verified video list, forum thread or ranking, and no such links are given here. No prices are copied from competitor pages.
2 Comments