
Royal Front Hand Mehndi Design: Stylish Ideas, Step-by-Step Builds & Dark-Stain Tips
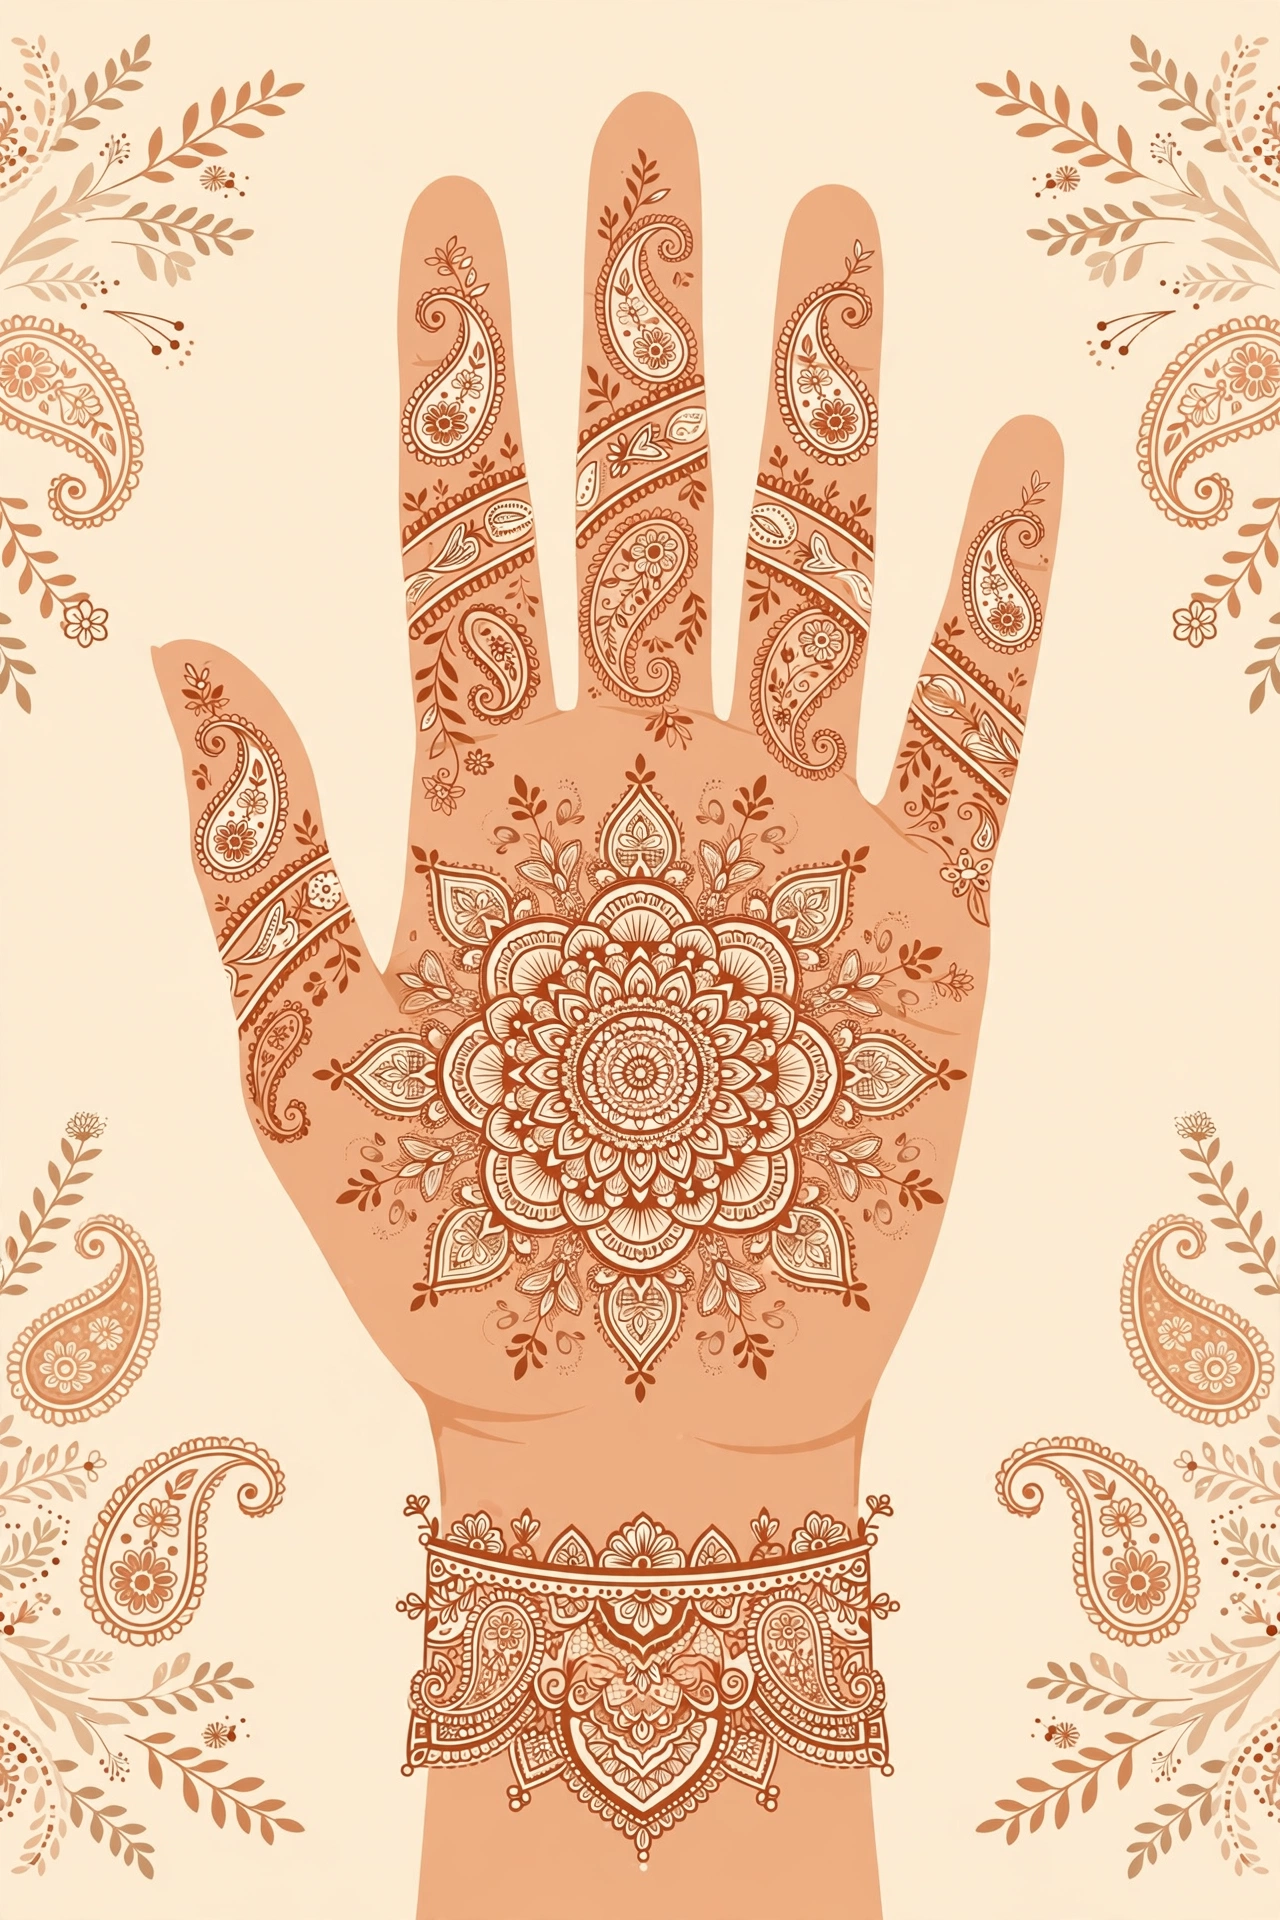
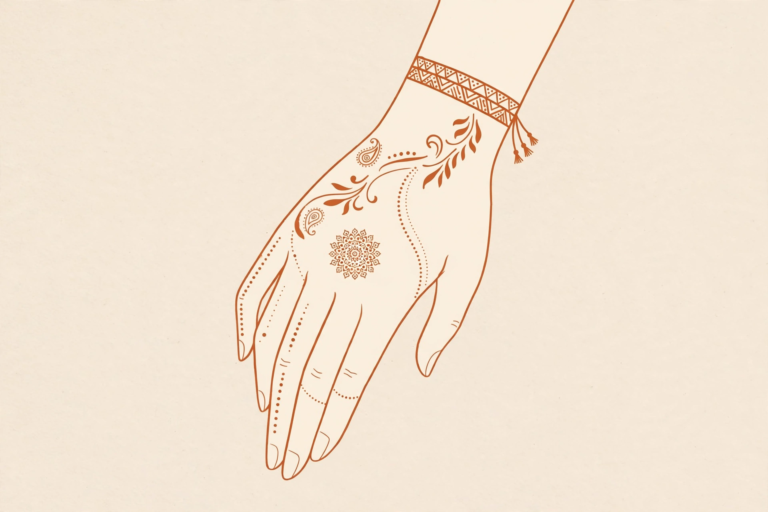
A royal front hand mehndi design is a palm-side design built around one rich focal motif, with fine jaali net work, filled fingertips and a finished wrist cuff. It suits brides, bridesmaids and festival wear, and it also works in a lighter form for a party or Eid when a full bridal palm would be too much. This guide helps you choose by occasion, build the design step by step, and get a darker stain without taking risks with your skin.
The most common mistake is copying a dense design as a solid wall of fill. A royal look reads as royal because of contrast: a clear centre, open space around it, and crisp detail at the fingers and wrist. Keep one focal point, and let the rest of the hand support it.
What makes a design royal
Royal does not mean crowded. It means deliberate, balanced and finished on every edge. These are the motifs and finishes you will see again and again:
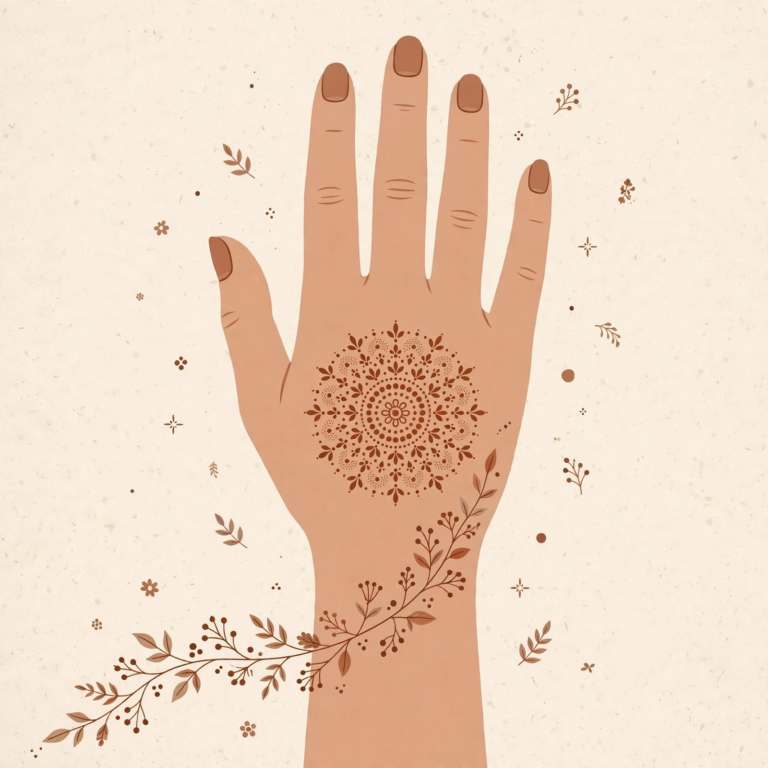
- Mandala: a round, layered centre on the palm that anchors the whole design.
- Peacock: a curved, feathered motif that suits a palm or a side trail.
- Lotus: a clean, open flower that works well as a centre or a finger accent.
- Paisley: a teardrop shape that fills a curve without looking heavy.
- Jharokha arch: a small arched frame, often holding a flower or peacock, with a Mughal feel.
- Jaali: fine net or diamond-grid work used as light fill, not as a solid block.
- Bharwa fingertips: fully filled fingertips that make the hand look finished in photos.
- Jewellery chains and wrist cuff: thin chains, ring-style lines and a band at the wrist that frame the design.
Royal, simple and Arabic at a glance
| Style | Look | Best for |
|---|---|---|
| Royal front hand | Rich centre, jaali, filled fingers, wrist cuff | Weddings, engagements, major festivals |
| Simple | Few motifs, lots of open space | Everyday wear, college, a first attempt |
| Arabic | Flowing diagonal trail, more open space | Parties, Eid, a lighter festive look |
Choose by occasion
Use this as a starting point, not a rule. Difficulty and time are given as ranges, because hand size, line weight and experience change the result. Sources give different times for full designs, so treat these as planning ranges rather than exact promises.
| Occasion | Good royal choice | Difficulty and time |
|---|---|---|
| Wedding, Barat or Shendi | Full palm mandala or peacock with jaali and cuff | Artist-level; allow several hours |
| Engagement | Jharokha with floral fill, or mandala with finger bands | Intermediate to artist-level |
| Eid | Half-hand royal, or a single-motif royal centre | Beginner to intermediate |
| Karwa Chauth | Mandala palm with bharwa fingertips | Intermediate |
| Teej | Floral crown or lotus palm with a cuff | Intermediate |
| Party | Finger-focused royal, or a jewellery-style design | Beginner to intermediate |
If you are short on time, choose the lighter royal shortcut: one strong motif, decorated fingers, and a simple cuff. It photographs as royal without filling the whole palm.
10 royal designs, grouped by motif
Each design below gives the look, the best occasion, the difficulty, and one way to make it lighter. Start with the design that matches your time, not only the photo you like most.
1. Peacock and floral combination
Look: a curved peacock beside open flowers, with light jaali between them. Best for a wedding or engagement. Difficulty: artist-level. Make it lighter: use the peacock alone on the palm, with plain flowers on the fingers.

2. Royal mandala
Look: layered circles on the palm, with petals, dots and rings building outward. Best for a wedding, Karwa Chauth or Teej. Difficulty: intermediate to artist-level. Make it lighter: keep the mandala small and leave the outer palm open.
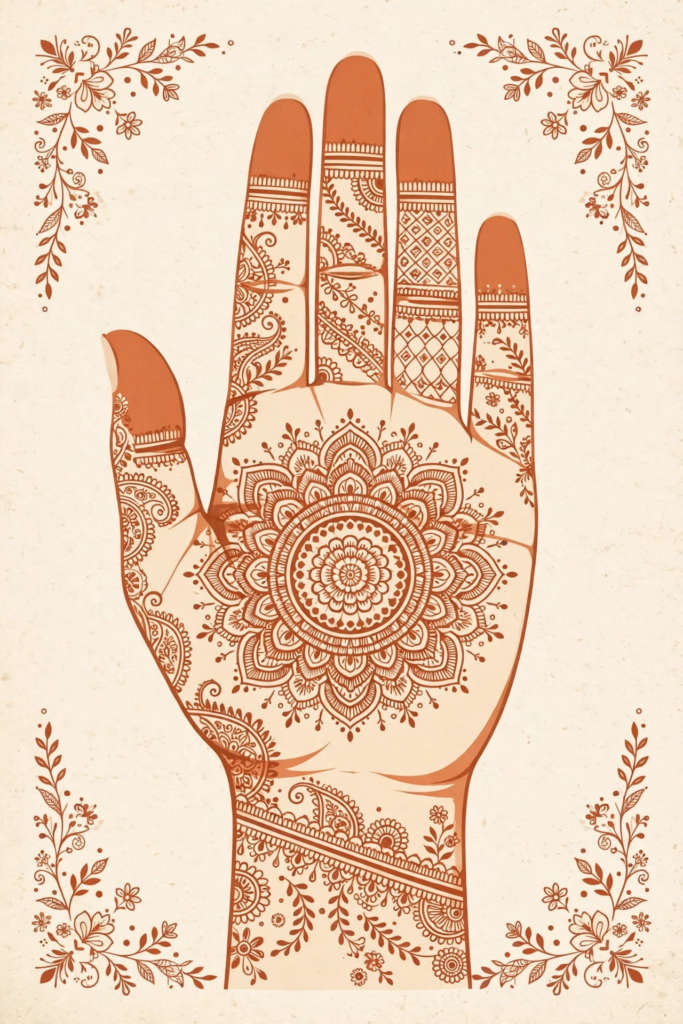
3. Jharokha with peacock or floral fill
Look: an arched frame on the palm, filled with a peacock or flowers. Best for an engagement or wedding. Difficulty: artist-level. Make it lighter: use one arch only, with a simple cuff.
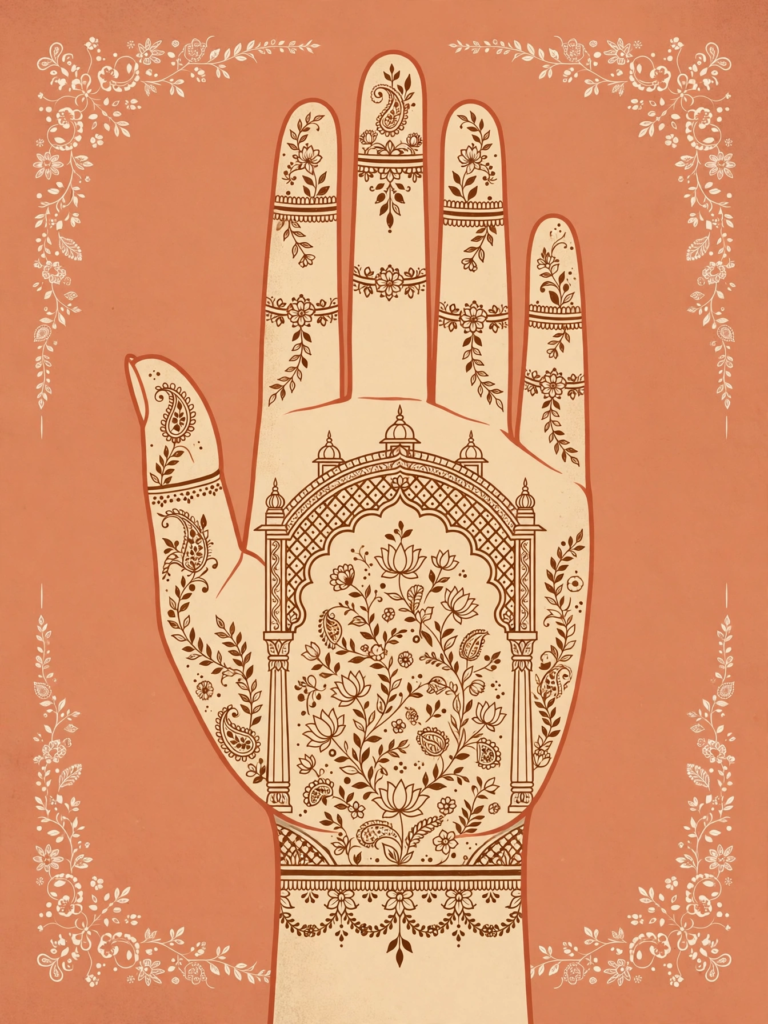
4. Fine jaali with bharwa fingertips
Look: a light diamond net across the palm, with fully filled fingertips. Best for a wedding guest or a party. Difficulty: intermediate. Make it lighter: use jaali on one half of the palm only.

5. Diamond-grid jaali
Look: a neat, even grid that reads as rich without heavy fill. Best for Eid or a party. Difficulty: intermediate, because even spacing matters. Make it lighter: keep the grid small and add a single flower at its centre.
6. Elephant and lotus
Look: a gentle elephant motif beside a lotus, often used for bridal symbolism. Best for a wedding. Difficulty: artist-level. Make it lighter: use the lotus alone, with a thin vine trail.
7. Floral crown
Look: flowers arranged like a crown across the top of the palm, with vines toward the fingers. Best for Teej or a party. Difficulty: intermediate. Make it lighter: use three flowers instead of a full crown.
8. Mughal arch
Look: a broad arch framing the palm, with floral detail inside. Best for a wedding or engagement. Difficulty: artist-level. Make it lighter: draw the arch outline first, and fill only the centre.
9. Jewellery-style design
Look: chains, ring lines and a bracelet-style cuff, like worn jewellery. Best for a party or engagement. Difficulty: beginner to intermediate. Make it lighter: use one chain and one cuff band, and leave the palm mostly open.
10. Arabic-royal fusion
Look: a flowing Arabic trail with a royal centre and a cuff. Best for Eid or a party. Difficulty: intermediate. Make it lighter: shorten the trail to the wrist, and keep the centre small.
Step-by-step text-first build
- Prepare: wash and dry your hands, check that the cone tip is fine and the paste flows evenly, and practise the centre motif on paper first.
- Centre first: draw the mandala, lotus or arch in the middle of the palm, and check that it sits straight before you add detail.

- Build outward: add petals, rings or jaali around the centre, working in small sections so the pattern stays even.

- Fingers: decorate the fingers with bands, dots and bharwa tips, and keep the spacing similar on each finger.

- Wrist cuff: finish with a band at the wrist, and leave a clean edge so sleeves do not smudge it later.
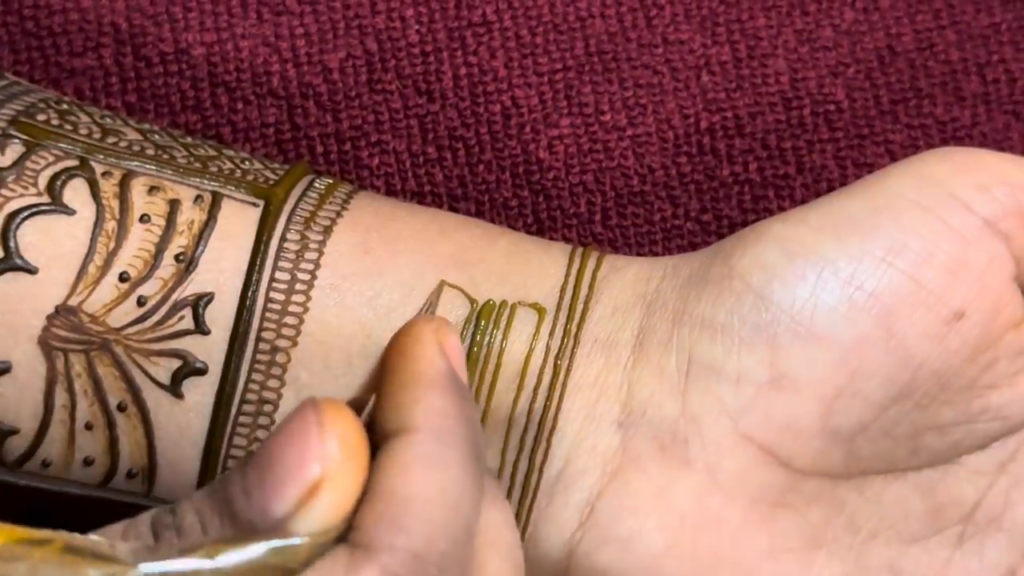
- Check symmetry: look at both hands together, and fix uneven jaali or a crowded corner before the paste dries.
- Dry without touching: rest the hand flat, keep it away from fabric, and do not rush the drying stage.
Beginner shortcuts that still look royal: a single-motif royal design, a finger-focused royal design, or a small mandala with negative space. All three keep the focal point strong and the rest of the hand calm.
Stylish front hand variations
- Minimal royal touch: one royal motif on an otherwise open palm.
- Half-hand royal: rich detail on the palm and fingers, with the wrist kept simple.
- Ring-style: finger rings and chains carry the design, with a small palm centre.
- Bracelet-style: the wrist cuff is the main feature, with a light palm trail.
Dark, long-lasting stain
Keep the paste on for 6 to 8 hours, or overnight where possible. Sources vary, with some giving 4 to 8 hours, so plan for the longer end when you want a deep colour. Dab lemon-sugar lightly on semi-dry paste, scrape the paste off rather than washing it off, and avoid water for 12 to 24 hours. Apply oil after removal. Colour usually peaks at 24 to 48 hours, so apply mehndi 1 to 2 days before the event, and do not judge the colour on day one, when it is often orange.
Safety: natural henna versus black mehndi
Natural henna stains orange to reddish-brown, never jet black. Avoid black mehndi and instant-dark cones: they can contain PPD, a chemical that can cause burns and scarring, and they are not natural henna. Patch-test any new cone or oil before a full design, and keep steam or heat at a safe distance rather than holding your hand close to a hot source. If your skin reacts, remove the product, avoid scratching, and seek medical advice if the reaction is severe. This is general information only, not medical advice.
What to tell and ask your artist
- Show a clear reference, and say which part you want kept exactly and which part can change.
- Ask whether both hands will match, and whether the back of the hand is included.
- Ask how long the design will take, and what paste will be used. Ask for natural henna only.
- Ask about touch-ups, and wear sleeves that will not rub the wrist cuff while it dries.
Mistakes to avoid
- Over-filling the palm until no open space is left.
- Uneven jaali, where one side is tight and the other is loose.
- Smudging the design while it dries by resting the hand on fabric.
- Washing the paste off too soon, instead of scraping it off.
- Judging the colour on day one, before it has had time to deepen.
Try this next: pick one design from the list above, practise its centre on paper, and then try it on one hand first. If you want a simpler starting point, a small mandala with open space is a good first royal design.
Frequently asked questions
What is a royal front hand mehndi design?
It is a palm-side design built around a rich focal motif, such as a mandala, peacock or jharokha arch, with fine jaali fill, decorated fingers and a wrist cuff. The front hand is the palm side, so the design is most visible when you greet someone or hold your hand out in a photo.
Which royal design is best for a wedding versus Eid?
For a wedding, choose a full palm mandala, peacock or jharokha design with a cuff, and allow several hours. For Eid, a half-hand royal design or a single-motif royal centre is usually a better match, because it looks festive without taking as long or feeling as heavy.
Can beginners do a royal front hand design at home?
Yes, if you choose a lighter royal version. Start with a small mandala, a finger-focused design, or a jewellery-style design, practise on paper first, and keep the centre simple. Full bridal palms with dense jaali are best left to an experienced artist.
How long does a royal front hand design take?
It depends on the size, the detail and who applies it. A lighter royal design can be much quicker, while a full bridal palm can take several hours. Ask your artist for a time estimate for your exact design, and do not plan a tight schedule straight after the appointment.
How do I make my mehndi darker?
Keep the paste on for 6 to 8 hours, or overnight where possible, dab lemon-sugar lightly on semi-dry paste, scrape the paste off rather than washing it off, and avoid water for 12 to 24 hours. Apply oil after removal, and wait 24 to 48 hours for the colour to peak. Sources vary on paste time, with some giving 4 to 8 hours, so the longer end is the safer plan for a deep colour.
Why is my mehndi orange at first?
Natural henna starts orange and deepens to reddish-brown over the next day or two. Orange on day one is normal, and it is not a sign that the design has failed. Judge the final colour after 24 to 48 hours, not straight after the paste comes off.
How long does front hand mehndi last?
The brief for this guide gives no single settled figure for total stain life, so no one figure is promised here. Colour usually peaks at 24 to 48 hours, and how long it stays visible depends on the amount of fill, your skin, the henna quality and aftercare, including how much water and washing the hand gets.
Is black mehndi safe?
No. Black mehndi and instant-dark cones are not natural henna, and they can contain PPD, which can cause burns and scarring. Natural henna stains orange to reddish-brown, never jet black. Avoid any product that promises an instant jet-black stain, and patch-test new cones or oils first.
Should both hands match?
Matching hands look balanced in photos, especially for a wedding, but they are not required. Many people choose a full design on one hand and a lighter matching version on the other. Tell your artist in advance if you want an exact match, because it takes more time.
What should I ask my mehndi artist?
Ask what design will be used, whether both hands match, how long it will take, what paste will be used, and whether touch-ups are possible. Ask for natural henna only, and wear sleeves that will not rub the wrist cuff while it dries.
Note on sources: this guide is based on a research brief that summarises guide and FAQ pages. It does not include a verified video list, forum thread or ranking, and no such links are given here. Stain times are given as ranges where sources disagree, not as a single settled figure.
2 Comments